Painting on dry plaster: how to do it yourself
Painting on dry plaster was carried out even in ancient castles, and to this day a person freezes at the sight of such frescoes, rock icons and wall silhouettes. Today, anyone who appreciates true art and aesthetics can recreate their favorite paintings at home. The article will tell you how to make a painting on plaster in your home.
Any developer today can decorate the interior in a variety of ways. However, for lovers of an unusual exclusive solution, preference should be given to wall painting on dry plaster, which will allow you to make any picture on the wall.
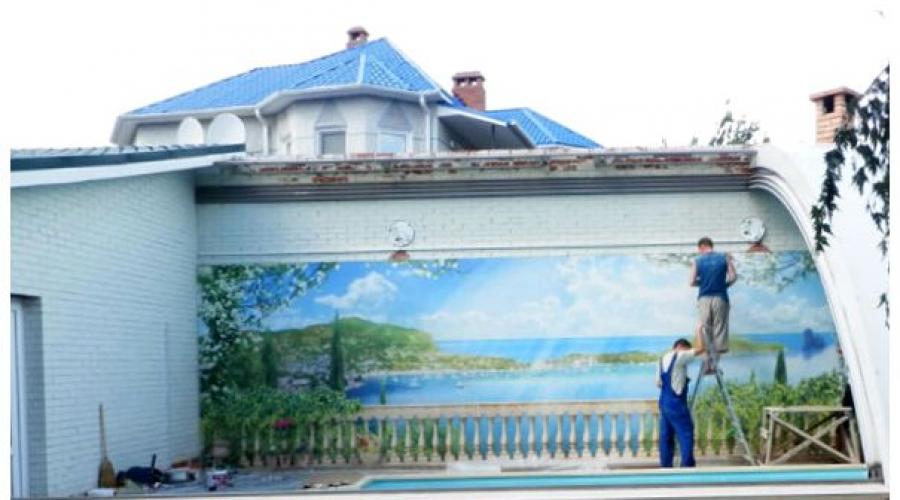
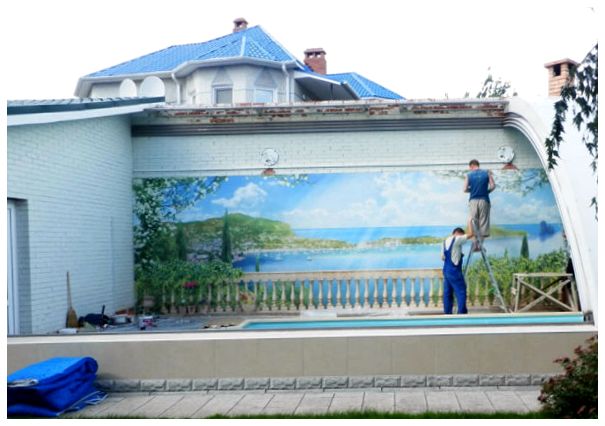
This option is well suited for interior and exterior cladding (see): the most wonderful compositions can decorate the facade of any building, as seen in the photo.
Painting on plaster can be done in two ways:
- On wet plaster called fresco. In this case, the walls must be completely covered at one time, which is quite difficult to do before the base dries, with a large picture, it will require the involvement of a whole team of painters.
- Do-it-yourself painting on dry plaster is done on a dry base. This technique appeared in Old Europe in the Middle Ages and is called alsecco or 8 letters.
The advantages of dry plaster are:
- Environmental friendliness of the compositions applied to the surface. The basic element of the paints used to decorate the walls are taken only materials of natural origin, such as:
- water;
- egg yolk;
- vegetable adhesives.
Adding lime to the composition strengthens them and improves their properties. Mixtures are not hazardous to human health and the environment.
- Composition durability: after application, the paintings retain their original properties and do not lose their brightness for many years, which is due to good adhesion of paints to the surface and the use of high-quality compounds to protect them.
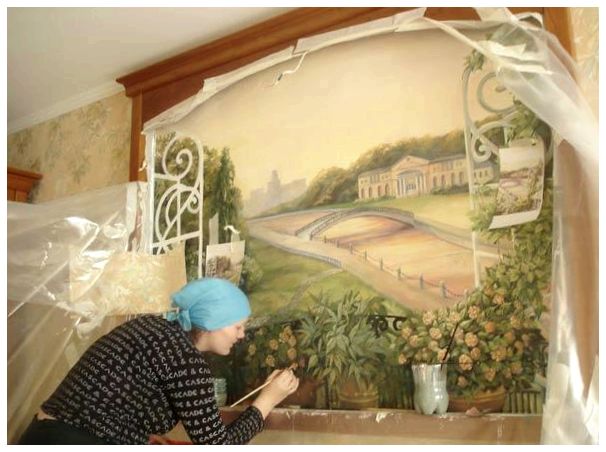
- Comfortable work performance. In this case, unlike frescoes, you can paint the pattern as accurately as possible, take breaks, and pay attention to small details.
- The resistance of painting to temperature extremes and negative atmospheric influences. They can be used to paint facades, all kinds of planes outside buildings, walls in corridors, bathrooms and other rooms with a humid microclimate. Painting can be used to decorate interiors in public places.
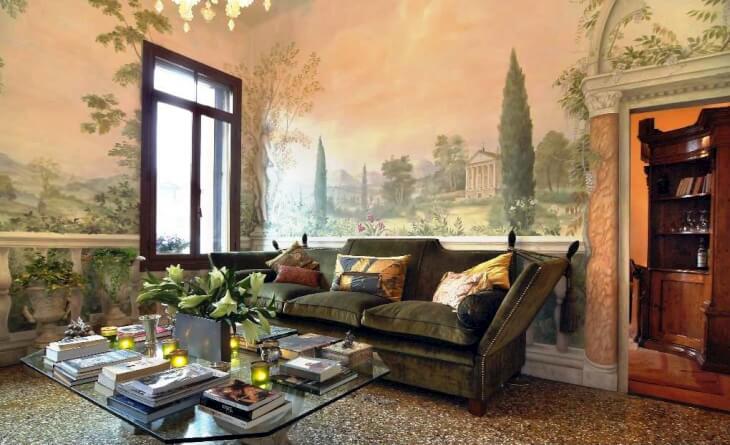
Tip: There are no restrictions on the style of the design of the coating, it all depends on the features of the interior and the preferences of the owner. Pictures can be made with a traditional landscape, hi-tech, urban.
Disadvantages of painting on dry plaster:
- Sophisticated imaging technology.
Tip: If a person does not have aesthetic abilities, this work should be entrusted to a specialist. Ordinary images can be applied using a stencil, but this option will have nothing to do with pictorial painting.
- The price of this type of cladding is quite high. But the individuality and exclusivity of the option will justify the high cost.
- The process is quite long, the work can be carried out from several days, weeks, and even months, which depends on the complexity of the project, the size of the application area, and the materials used.
Tip: The pattern is applied once, immediately for a long time, so you should select image options that will not change the style of any room after repair.
- It is necessary to prepare the territory so that it has a perfectly even appearance, and re-priming (see).
What material to choose for painting
The key to a high-quality embodiment of the conceived image in life is a well-chosen material.
For wall painting, it is best to use mineral-based paints:
- Wax.
- Lime.
- Oil.
The modern assortment is represented by successful analogues based on oil emulsion or PVA glue, which differ in:
- High durability.
- Drying speed.
- Over time, they form a reliable layer that protects the surface from sun exposure and damage from moisture.
For the convenience of craftsmen, special materials have appeared on the market that:
- Gives a pearlescent effect.
- Glow in the dark.
- Imitate web.
- Create "artificial cracks".
The nuances of the successful embodiment of painting
For high-quality painting on dry plaster, you must:
- Select a surface to paint on.
- Create sketch.
- Determine the scale of the composition.
- Break the final drawing into squares and display it on paper, from where the image will later be transferred to the wall. The masters call this principle: “a big elephant must be butchered.”
- The surface is pre-prepared to achieve a smooth surface on the future painting canvas. For this:
- walls are aligned;
- the remnants of traces of whitewash are removed;
- roughness is removed;
- bumps are rubbed off.
- The surface is primed with a composition that depends on the chosen paint and can be:
- lime test;
- made on the basis of casein glue.
Tip: The surface must be primed with high quality, for which the technique is used in three stages. In addition, each layer should dry well.
- The wall is divided into squares. For this, improvised means are used:
- ember;
- masking tape;
- twine or thin thread;
- ruler.
Tip: The scale of the transferred image determines the number of squares and their size. If there are a lot of small details in the drawing, you should spend more time marking up to get a high-quality image.
Painting instructions:
- The main contours are indicated in charcoal or sepia and the silhouettes of the drawing are drawn. In this case, it is necessary to strictly observe the proportions and maintain harmony, using the rule “measure seven times, cut one”. You can’t rush, you should constantly compare and control the result when transferring a drawing from a sketch to a wall plane.
- The image is painted with paints. Typically, artists use soft brushes to prevent damage to the plaster layer. In this case, it is important that the lime coating is not affected and that it does not mix with the paint. Otherwise, this may lead to the appearance of a white coating after the final drying of the paints. The coating should be applied in a thin layer that is absorbed into the plaster and remains for a long time without the risk of flaking or cracking.
- The last layer is applied varnish or wax coating.
The whole process is presented in more detail in the video in this article.