The procedure and nuances of painting on wet plaster with water paints
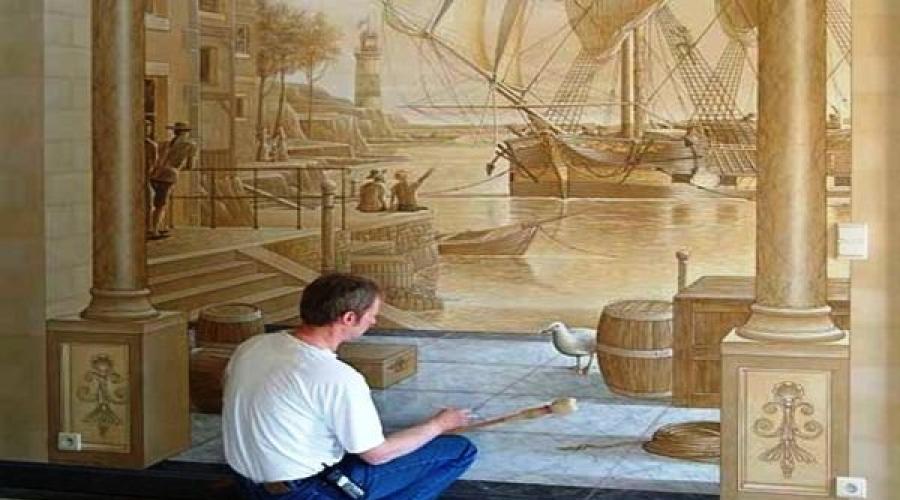
Entering a temple or watching films set in Greece, Italy or another country known for its ancient history, one involuntarily lingers on the drawings decorating the walls. Such painting on wet plaster, made with water-based paints, is called a fresco. This word is translated from Italian as "raw". Today, this method of decorating has regained popularity. It allows you to give the house a unique look, both from the outside and from the inside of the building.
Of course, to create a painting, you need artistic taste, the ability to work with paints, and knowledge of the peculiarities of working with plaster. Therefore, not every even an experienced artist can do the painting on their own. Then why understand the features of wall painting, if it will be done by a specialist?
Knowing the process of preparing walls and drawing a picture will help to avoid trouble with crumbling plaster, dull paints. If the master claims that such a finish is short-lived, then he simply does not know how to apply it correctly, and you should refuse his services.
Advantages and features of painting
It is not for nothing that painting on wet plaster is called artistic. Its implementation assumes that a canvas with high aesthetic characteristics will be created. Its advantages:
- a unique composition is created;
- drawing can be of any content and style;
- fits into any interior.
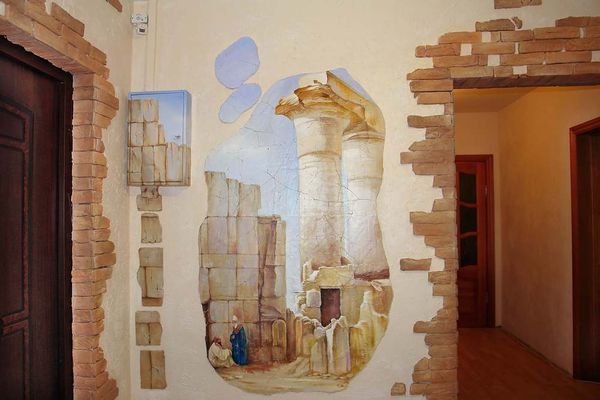
Complex compositions, including landscapes, plots of famous paintings, are popular. Also, the painting may contain a simple ornament.
Given the high requirements for the aesthetic side of the canvas, its inherent disadvantages become clear:
- you need to be able to draw well;
- working with raw plaster is quite difficult;
- drawing speed should be high;
- the surface must be properly prepared.
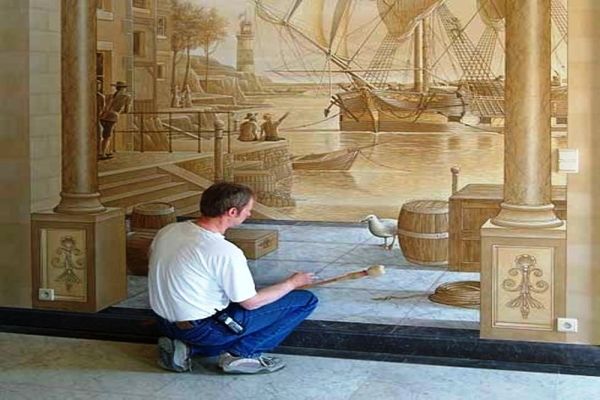
These features determine the high cost of such work, which not every master is able to cope with. The painting process takes a long time. If you still have a desire to make a painting on your own, then you can try on a small area.
Procedure
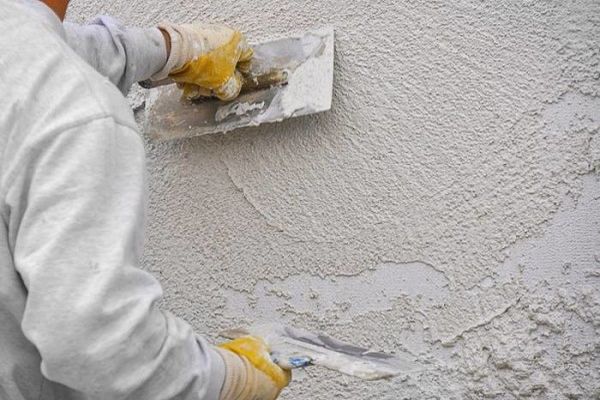
Wall preparation
The first step is to remove the old finishing materials. If, in general, the plaster is firmly attached to the base, then it can be left. The wall must be cleaned of dust and debris. Then it is necessary to make notches about 8 mm deep on it. To do this, use a puncher, chisel or ax. The density of the notches is approximately 100-120 pieces per 1 m2. After that, the dust is swept from the wall.
In order for the plaster mortar to be fixed as reliably as possible on the base, it must be primed with a deep penetration solution. After the primer dries, a rough plaster layer is applied. Its task is to eliminate defects, level the surface. The layer should dry well, then you can proceed to the creation of the base layer, on which the drawing will be applied.
Solution preparation
The secret of a quality fresco lies in the right mortar. There is no universal recipe: each master independently selects the proportions of the components. But you can use the general recommendations, adjusting them as needed.
The basis of plaster is lime. It must be fresh, clean and of high quality. It is not worth saving on the material: the better the lime, the stronger the base will be, the better the paint will lie on it. Lime must be extinguished with clean water, left for two weeks. This has a positive effect on its properties. Coarse-grained sand is used as a filler; brick chips can be added to it.
If a solution is being prepared for the street, then the amount of crumb should be minimal. The addition of finely chopped hemp or cellulose fibers will help to give the composition elasticity and protect the coating from cracking.
The solution is prepared immediately before use. The base layer is prepared in the following proportions: lime dough - 1 part, filler - 3 parts. For the front layer, take a little less filler - 2.2 parts.
Plastering technology
Fresco painting requires compliance with a certain order of plastering. During the day, the prepared surface must be moistened, repeating the moistening again 1.5 hours before plastering.

The solution of the first layer is thrown no thicker than 8 mm. It is distributed along the wall with a grater, not trying to smooth it out much. To improve the adhesion of the plaster layers, the creation of wavy grooves with a depth of 2 mm every 40 mm will help.
The first layer is allowed to dry well (about 12 days). Then it is well moisturized. The second layer will be intermediate. It can be skipped, but with minimal experience in performing such work, it will make it possible to correct errors.
Sometimes the base surface is covered with a whitish coating. You need to get rid of it by cleaning and moistening the wall again. If this is neglected, then the adhesion of the plaster will be broken, and the fresco may delaminate. When the intermediate layer dries, it is moistened and a top coat is applied. Brick chips, fibers are not added to the solution for it. It is performed with a thickness of 1-3 mm. It dries quickly, so treat the wall gradually. At the same time, a drawing is applied.
Nuances of work
To make painting on wet plaster with water-based paints effective and durable, you will need to prepare a sketch, paint, and a tool. The drawing is transferred to the wall, pricked with a needle or awl. Given that you have to work with small areas, the drawing can also be divided into parts.
Acrylic paint diluted with water is applied using a wide brush. It should be soft so as not to remove particles of the solution. They do this in a certain sequence: they start with light colors, then move on to medium ones and finish with dark colors. It should be remembered that the paint fades slightly when it dries, so it is better to choose shades darker.
Smears are made with light movements so as not to brush off the drying lime layer with a brush. If whitish stains appear in the paint, you need to rinse the brush, reduce pressure on it. Too thick a layer of paint is unacceptable. It will not be absorbed into the plaster, it may subsequently crumble.
If the paint begins to peel or streak, the plaster has dried. You will have to remove this part of the coating and apply a new layer of plaster.
When drawing areas, dark colors are used first, then medium and light colors. This ensures smooth transitions between shades. In places where the light paint has dried up, you can apply it again to give contrast.
Having finished painting the site, with a knife or spatula cut off the places that are not filled with plaster. In this case, a bevel is obtained, which is then closed with a solution, smoothed down until it disappears. Continue painting the wall.
Until the fresco is completely dry, you can not touch it (about 10 days).
There should be no draft in the room, you need to maintain a constant temperature. If the ink dries unevenly, its hue may change, and this will affect the overall appearance of the image.
Painting on wet plaster requires care and accuracy. It is almost impossible to fix the damaged area - it will have to be completely redone.