Features of drawing on wet plaster with water-based paints

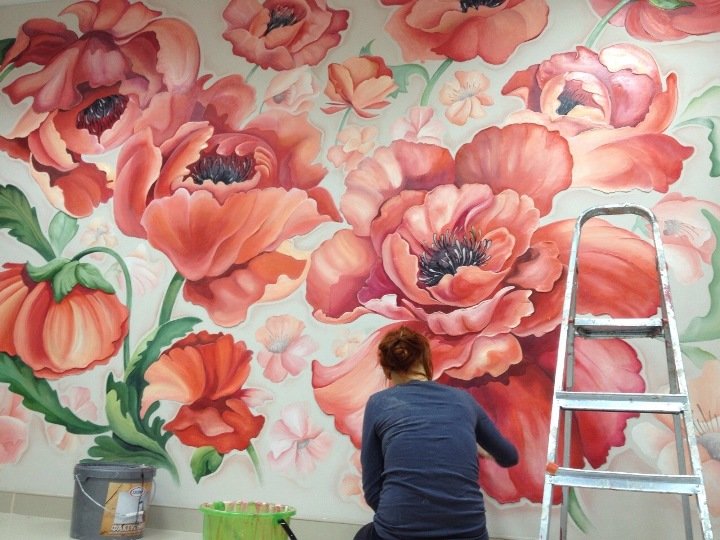
One of the most ancient finishes, which was undeservedly forgotten for some time, is painting on wet plaster with water-based paints. One of the options for painting is called a fresco, which was created back in the Renaissance. At the present time, this technique has again become widespread.
Although this type of finish requires some slightest skills, it is quite possible to do it yourself. In this article, we will try to acquaint novice masters with the main nuances of wall painting on plaster and with the technology of work.
Varieties of plaster painting
The technology for performing plaster painting is not particularly complicated.
The main stages of its implementation are as follows:
- The drawing is done on the walls or ceiling, which are pre-plastered. Work begins on a dry foundation.
- The contours of the drawing are applied to the surface, and then they begin to paint it with water-soluble paint.
- After the “picture” has dried, it acquires a kind of depth through the absorption of paints by wet plaster mixtures.
If you evaluate this process, it may seem that there is nothing complicated in it. Only during the work will all the nuances that accompany this creative process appear:
- the condition of the walls;
- preparation of solutions;
- painting technology.
If you are not sure of your skill and artistic abilities, you should first practice in small areas. Initially, it is possible on a dry plastered wall.
On the video: creating a pattern on decorative plaster.
The process of painting on wet plaster
The process of painting walls on wet plaster is based on several stages. Let's consider them in more detail.
Foundation preparation
The process of surface preparation is quite an important point, which later can play an important role during the painting of the picture. There are several points that should be done one by one and it is not recommended to skip them:
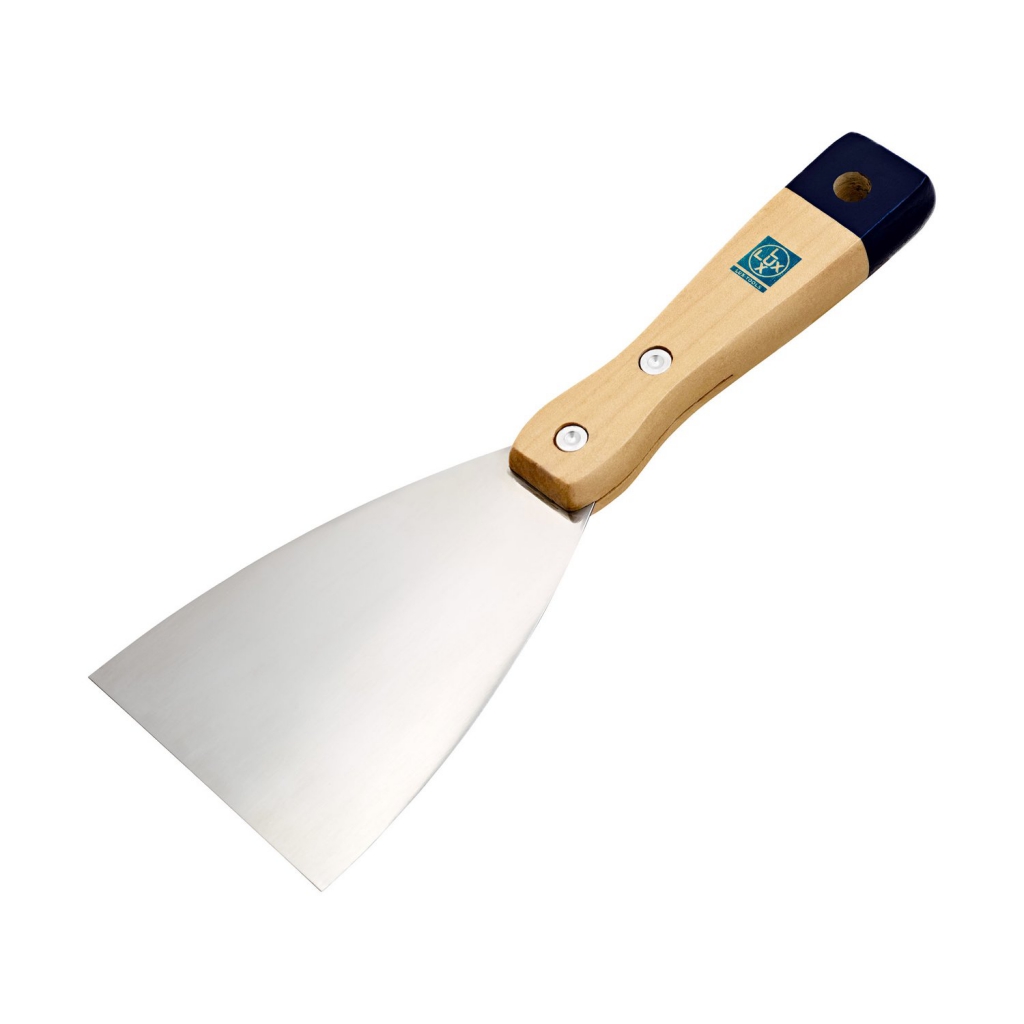
- We start by removing the old finish. It should be removed with a spatula. In the case when the old finish holds quite firmly, even after hitting it with a hammer, then it can be left. At the end of the work, we completely clean the surface of dust. In order for the adhesive of the new layer of plaster to adhere well to the surface, it is recommended to make notches with a depth of about 5 - 7 mm.
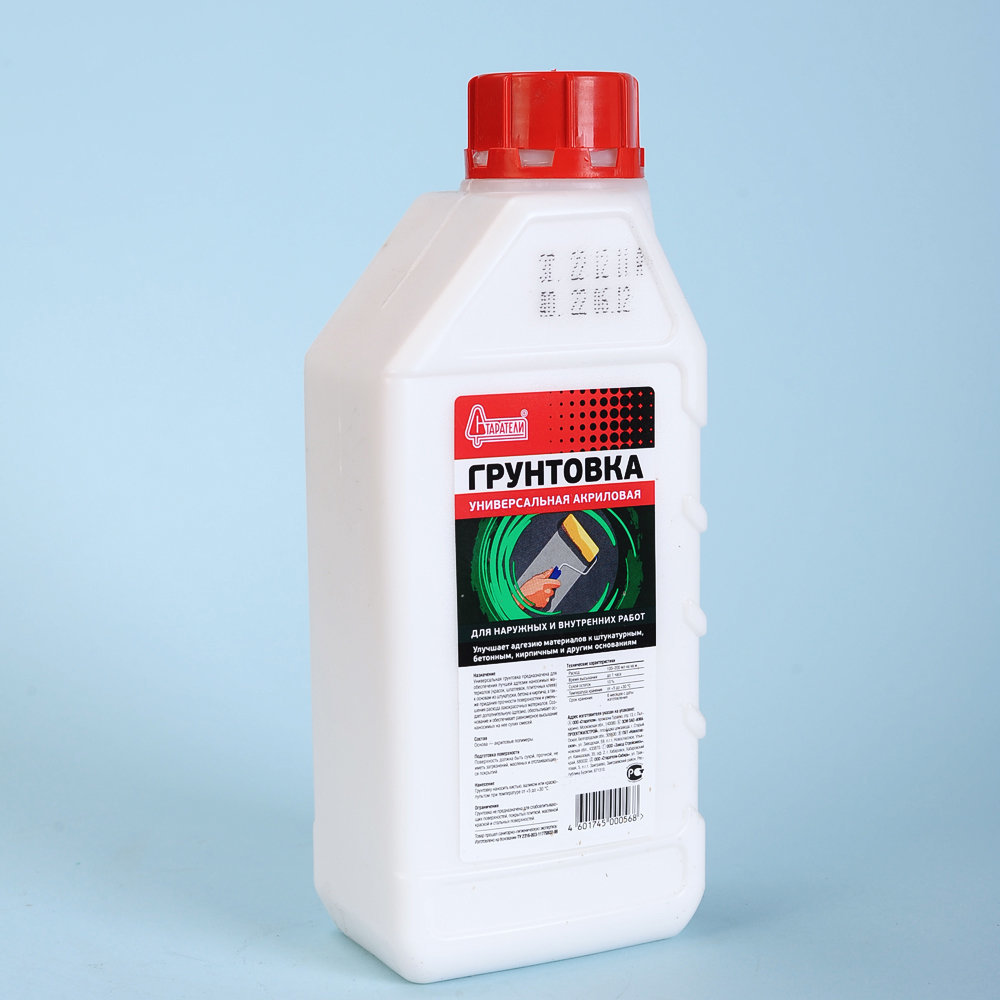
- To increase adhesion and remove dust residues, the surface is primed. There should be several primer layers, this will ensure the quality of the plastering.
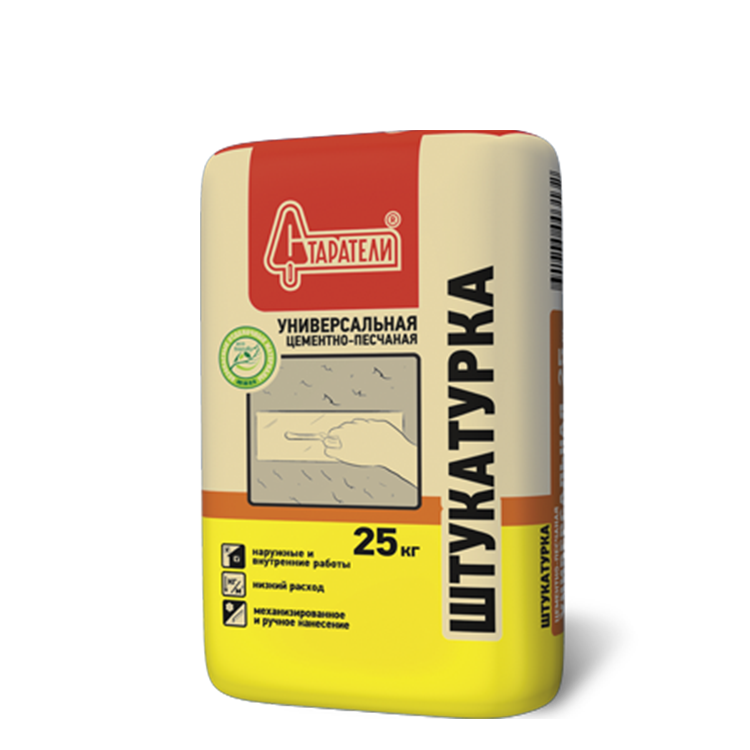
- Initial, which is also called basic, plastering. It is performed mainly for the purpose of leveling the surface. It is an intermediate layer between the wall itself and the finishing plaster. Only after the base plaster has completely dried, a new layer is applied, on which the painting will be performed.
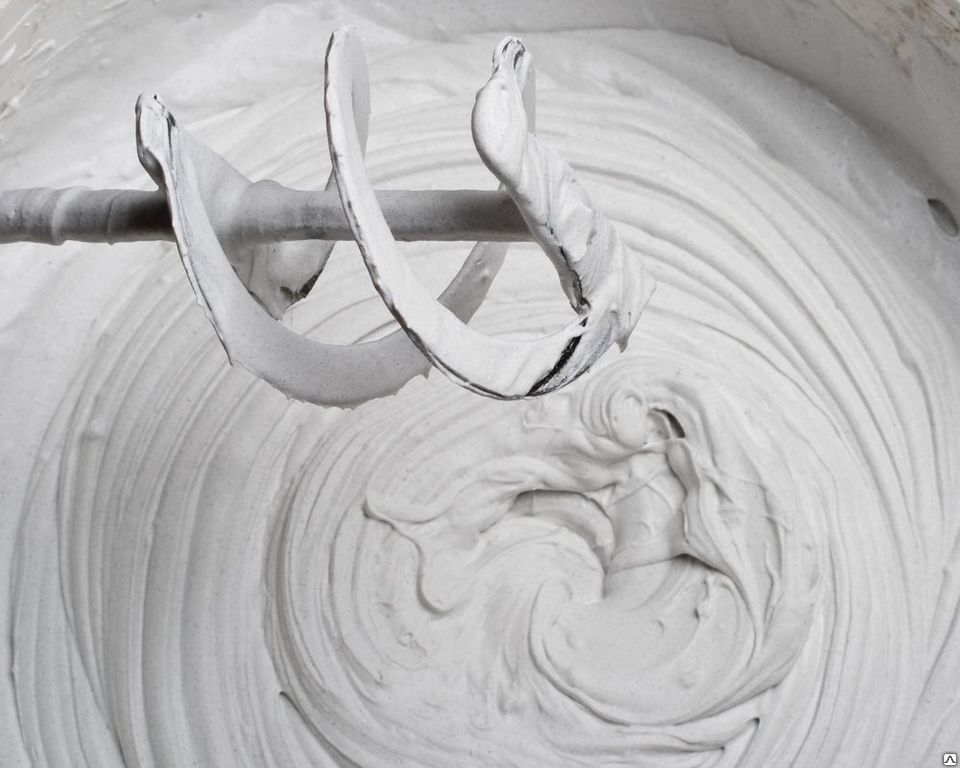
Preparation of mortar for finishing plaster
An important point is the preparation of the plaster solution, which has its own secrets. It was on a similar composition that frescoes were once applied. The composition itself was kept secret for a long time, so the components can be selected and replaced as needed. So, the composition of the solution is:
- The base material for the solution is lime. The better its quality, the stronger the plaster will be.
- Lime must be extinguished with water and kept in this state for several days.
- The filler in this solution is coarse river sand and brick chips. Experts recommend using the latter option. Thanks to this component, the drying time of the layer is slightly longer, which makes it possible to paint with paints.
- To prevent cracking of the plaster layer, finely chopped hemp or cellulose is added to the composition.
Important! The solution must be prepared immediately before application.
Pay attention to the proportions:
- For the base layer: 1 part lime paste and 3 parts filler.
- For the top coat: 1 part lime paste and 2 parts filler.
Plastering process
We offer a step-by-step algorithm for applying each layer of the plaster mixture:
- We start by pre-wetting the surface. The first is carried out a day before the work is completed, the second 1.5 hours before.
- The base layer is applied by throwing and initial smoothing with a float.
- On the base layer, recesses up to 2 mm are made with wavy lines in increments of 30 to 40 cm. They will subsequently increase adhesion between plaster layers.
- Dry the base layer for about 2 weeks. After that, we carry out abundant moisturizing and proceed to apply the next layer.
The second layer can be finished. But for beginners, wall painting on two-layer plaster will turn out to be of poor quality. Therefore, if the work is being done for the first time, and there is no special experience, then it is better to do a three-layer, or even more, surface plastering.
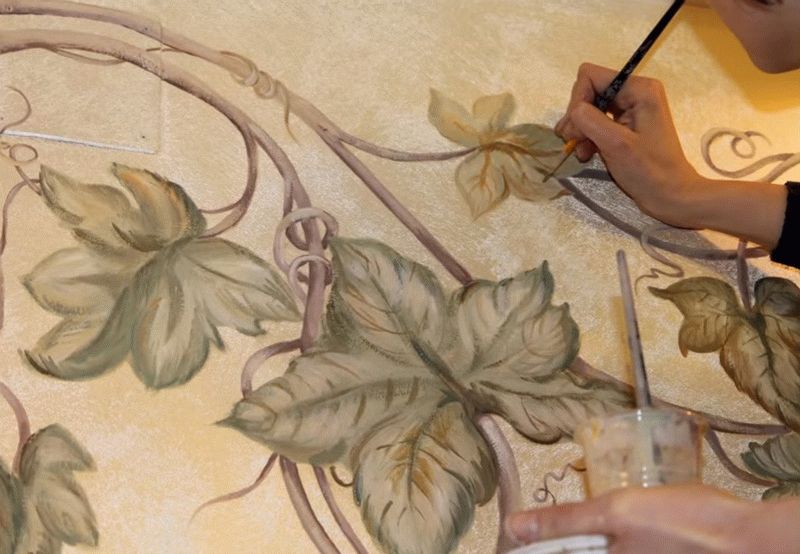
Painting technology
As mentioned above, painting on plaster should be started immediately, when it is still wet. Therefore, all the necessary tools and sketches must be prepared in advance. Once the finish layer is leveled, proceed to the following actions:
- If you cannot draw a drawing yourself, then we apply a stencil and use a needle to interrupt the drawing on the wall. Next, mark the edges of the drawing with an awl or the tip of a sharply sharpened pencil.

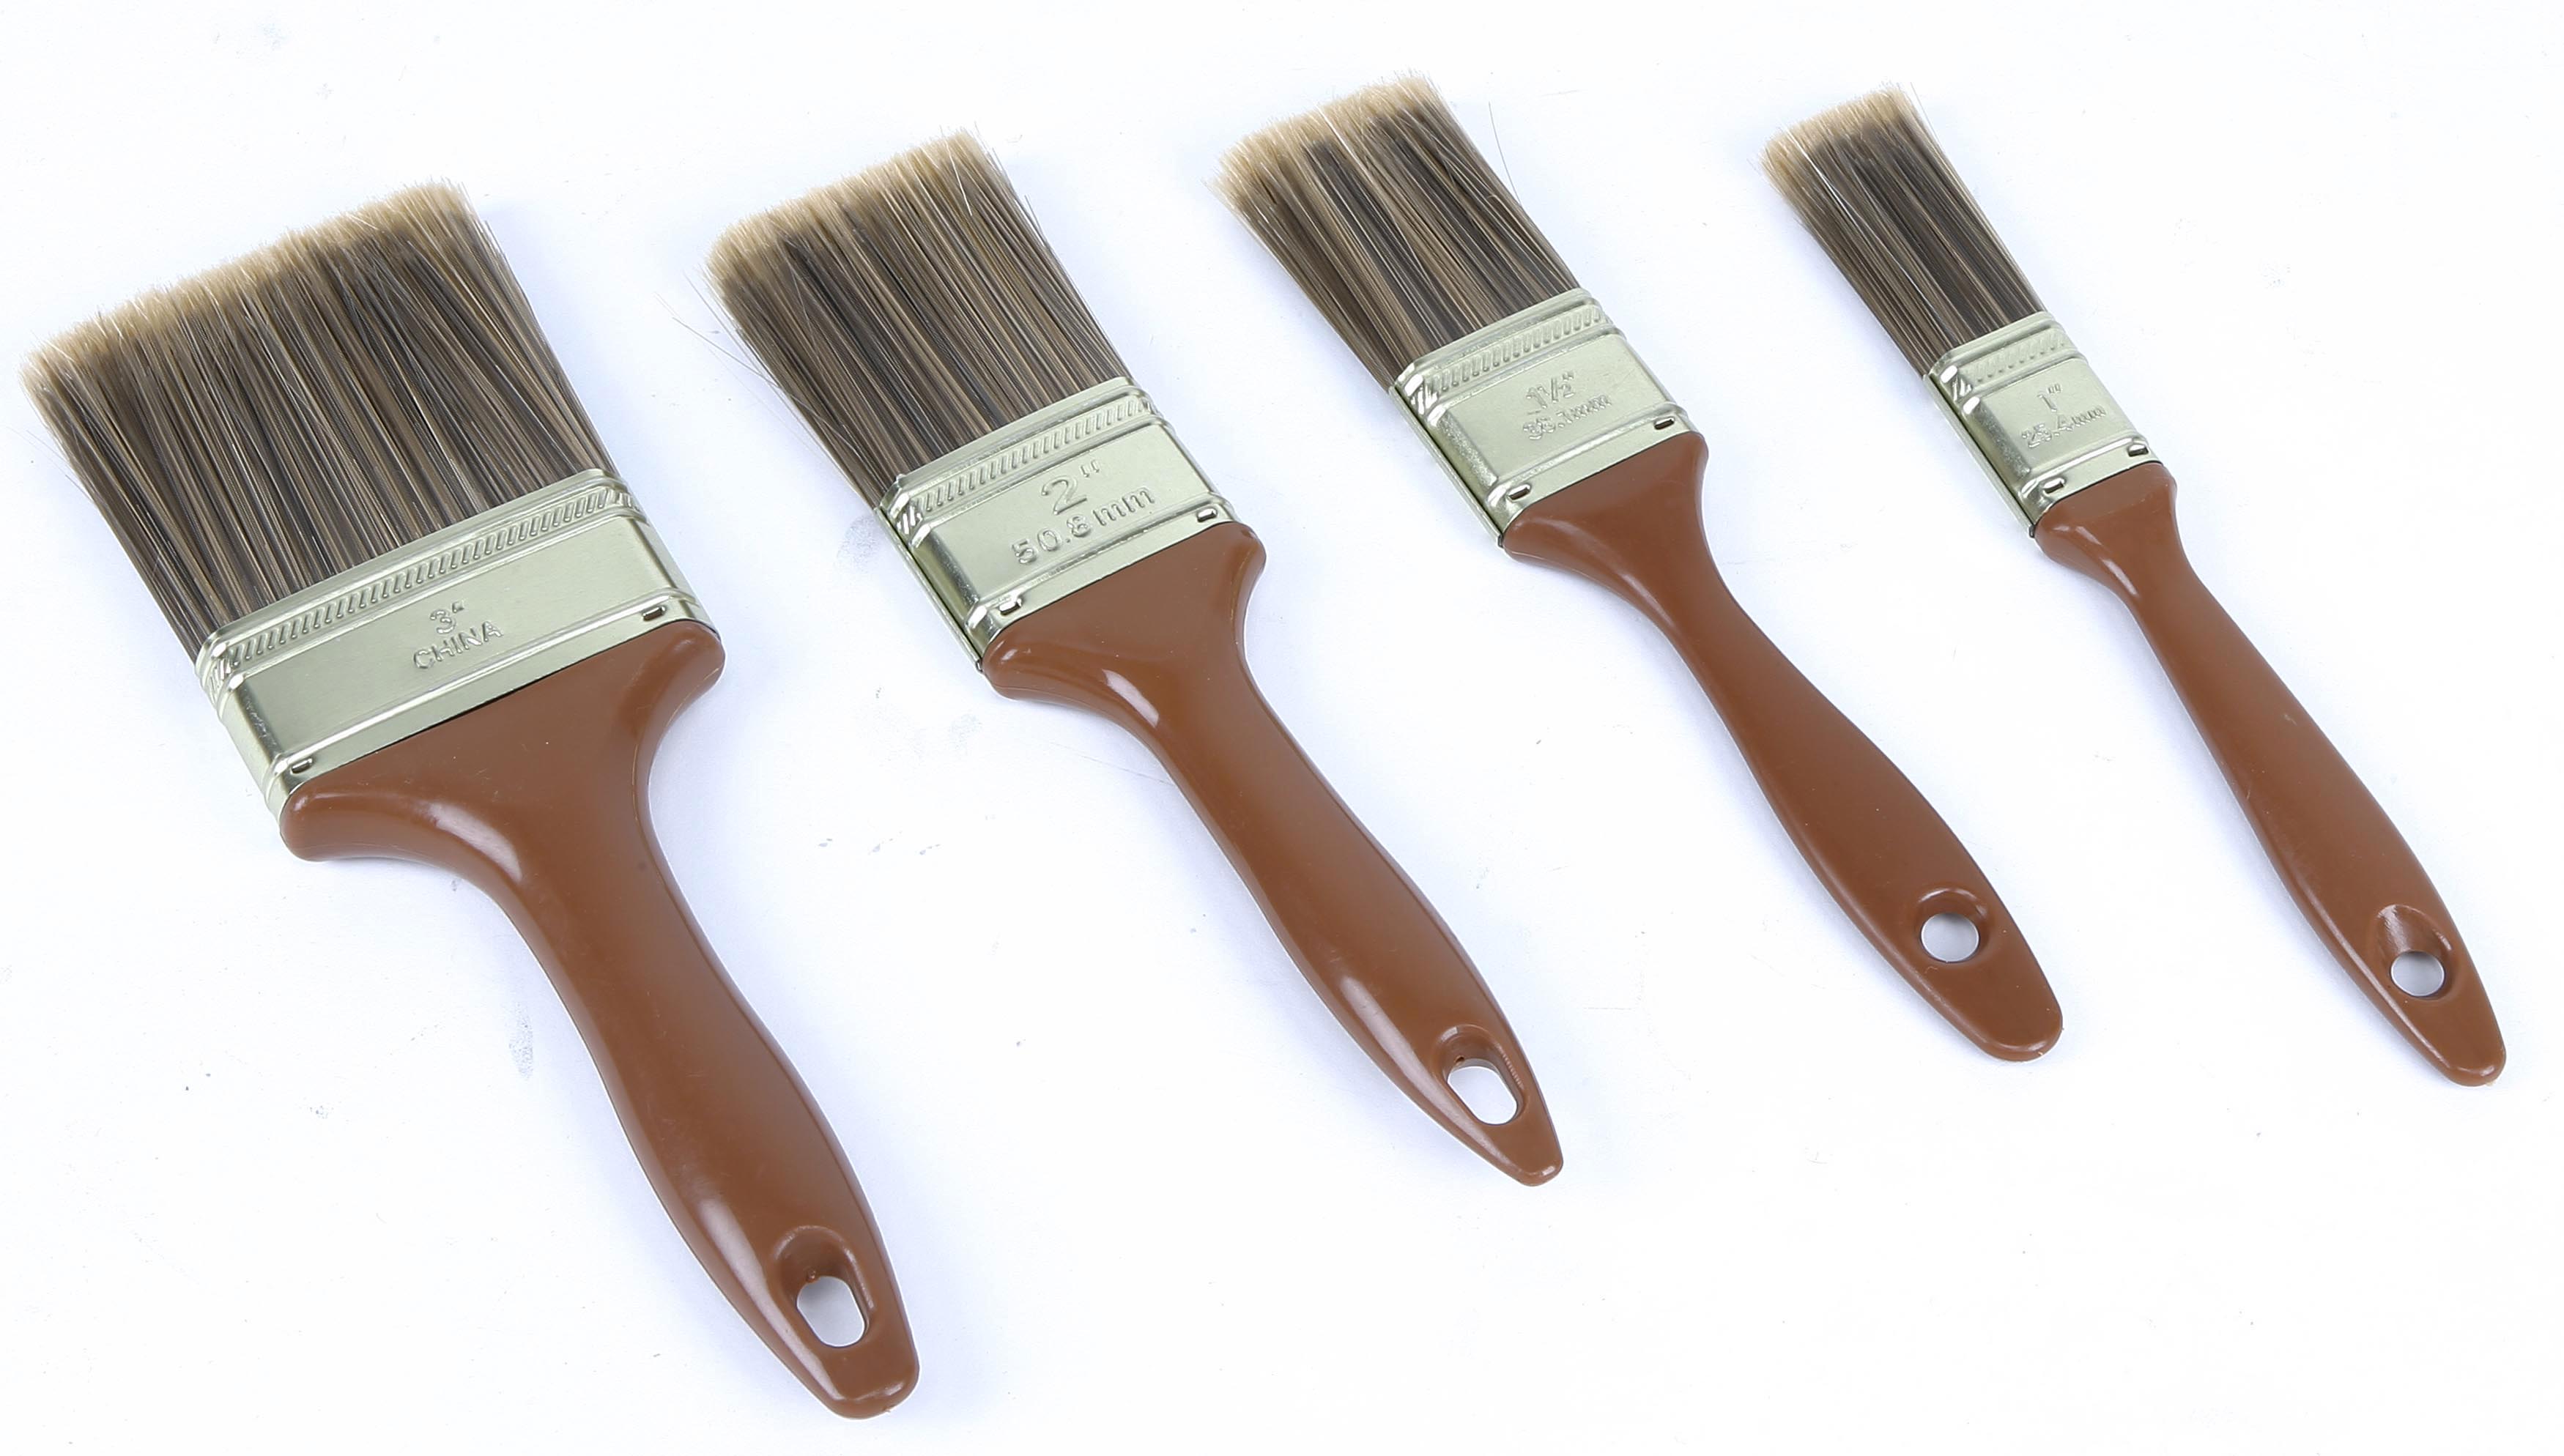
- Using soft wide paint brushes, we begin to paint the drawing. At first, lighter tones should be applied and gradually move on to darker ones.
- The painting technique should be fairly soft. When working with a brush, we make sure that its bristles do not violate the integrity of the lime plaster. If, nevertheless, such a defect has occurred, then we thoroughly wash the brush and again repeat the process of applying the coloring matter with less pressure.
- After the application of the initial painting has been completed, the drawing begins. It is performed in reverse order. You should start with dark tones and end with light colors.
- After the painting is finished, along the edges of the image, using a spatula or a sharp knife, we cut the plaster with an external bevel. After that, we again apply the plaster mixture so as to fill the resulting bevel until the seam completely disappears. After that, water-based painting on wet plaster is repeated.

At the end of the work, it is necessary to leave the painted frescoes to dry for 7-10 days. During drying, try not to touch it. If in some places the paint has lost its hue, it's okay, during the drying process, the plaster will give off moisture and the picture will acquire its original color saturation.
While the painting is drying, we try to arrange all the optimal conditions for visiting. There should be no drafts or temperature fluctuations. Otherwise, the fresco may crack.
As you can see, painting on wet plaster is a rather responsible process. Not every novice master will be able to cope with it. But, if there is a great desire and endurance, then you can try. At the same time, try to follow all the above recommendations.