How to properly grout the seams on the tiles on the floor - the choice of grout and work technology
Most often, tiles are used to finish floors in bathrooms and kitchens. The choice of color of ceramic tiles and images on it is very wide, so everyone can choose the most suitable option for themselves. Installation rules require leaving a gap between the tiles, the so-called seams. This is required in order to hide irregularities when laying with your own hands. Then the seams are processed with a special grout, which makes the lining more attractive. It is not difficult to do this work yourself, the main thing is to choose the right mixture.
What mixture to choose?
Choosing the right grout for your floor tiles will help you avoid problems during the surface finishing process. The main criteria are the color of the mixture, its purpose, composition and properties.
- Colour. For many people, this item is of paramount importance, since the appearance of the entire room depends on the color scheme. In order for the tiles on the floor to look like a monolith, the grout for the joints is selected to match the tone of the coating. Today, you don’t need to run around the shops and look for the paint of the right color, just add color to the white mixture. The most daring designers choose contrast.
- Appointment. For floor grouting standard mixture is not suitable. Since the load on the surface is intense, a more tenacious grout is required.
- Composition and properties. The composition of mixtures for processing joints may include Portland cement, alabaster, epoxy resins, gypsum, etc. The properties of the mixture depend on the composition. If it is necessary to grout the seams on the floor in the bathroom, in which the level of humidity is high, then epoxy compounds should be used, since they are moisture resistant and more durable.
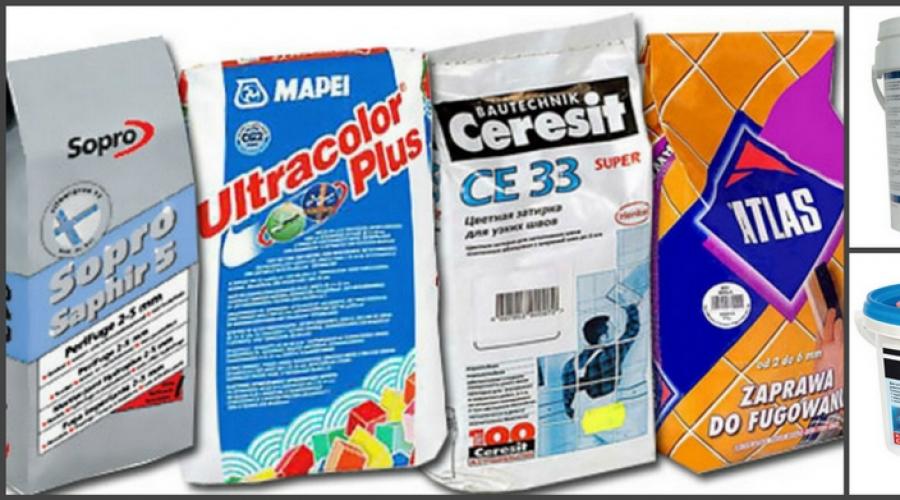
 Grouts for tiles: dry and ready
 Among the varieties of grout mixtures, there are also:
- Cement-sand. Suitable for rooms with gentle conditions (moderate temperature and humidity), and the base is made of concrete or brick. Used for decorative stitching.
- Polymer. Made from silicone. Resistant to temperature changes. Suitable for rooms with a "warm floor" system, and are also used for seamless laying of porcelain stoneware or stone, followed by polishing.
- Polymer cement. Designed for rooms of the same type as cement-sand. However, their composition contains polymer components that make the composition more durable and moisture resistant.
- Epoxy-cement. Just like epoxy, they are used in the process of internal and external works. Due to their chemical properties, they are suitable for use in harsh operating conditions.
When choosing a grout for floor tiles, you need to consider, among other things, whether the mixture is compatible with the adhesive on which the flooring is mounted, and the width of the joints. As a rule, manufacturers of ceramic tiles and mixtures themselves give appropriate recommendations.
How to properly seal the seams?
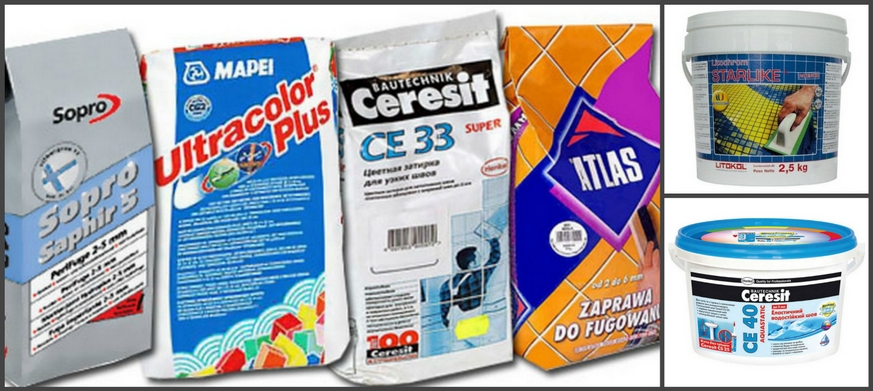
Grout mixtures are available in dry and ready-made form. The convenience of the powder is that you can use it as needed, and it is stored for a long time. However, when breeding, it is quite difficult to calculate the required amount of dry mix.
Ready grout is the most convenient option. It is an elastic mass packed in jars or buckets. However, an open container has a short shelf life. Therefore, if you decide to rub the seams with your own hands, it will be financially profitable to purchase dry mixes.
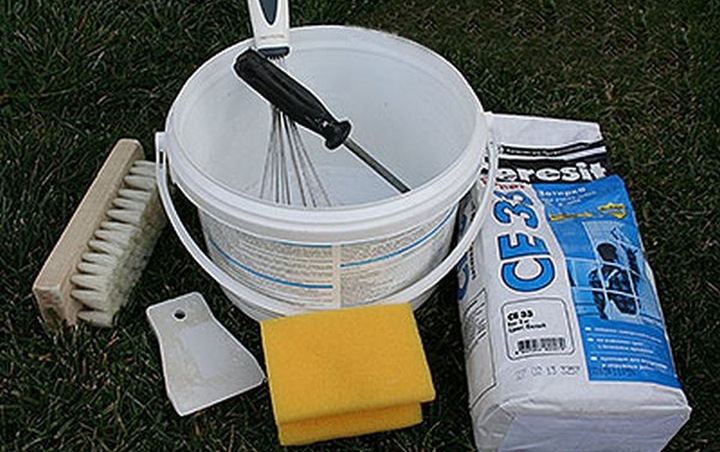
As a rule, it is possible to rub the seams a day after laying the tiles. Before you begin to process the gaps between the floor tiles, you will need the following tools:
- Water;
- Brush;
- Container for mixing the solution;
- Paint mixer or drill with a special nozzle;
- Trowel or small rubber spatula;
- Foam sponge or clean rag.
The grout mixture is kneaded in small portions, so in order to achieve its uniformity, you can get by with a spatula or trowel. If you need large volumes, you will need a mixer.
Before applying the grout, the tile must be cleaned of glue, dust and dirt. The seams are cleaned with a damp cloth, and right before processing they are moistened with a foam sponge to reduce the absorption of liquid from the grout. Also, experts advise treating the seams with an antifungal agent.
The next step is to dilute the powder (if a dry mix is \u200b\u200bused) according to the instructions on the package. It is important to remember that the grout must be plastic. If it turns out to be too liquid, the strength will decrease significantly. After mixing, the solution should stand for about 10 minutes, then it can be applied.
Work is being carried out from the far corner of the room to the door.
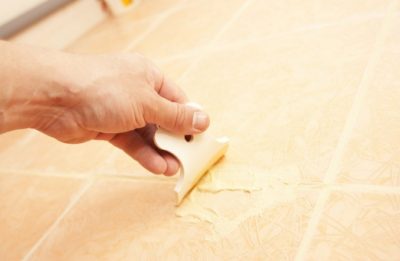
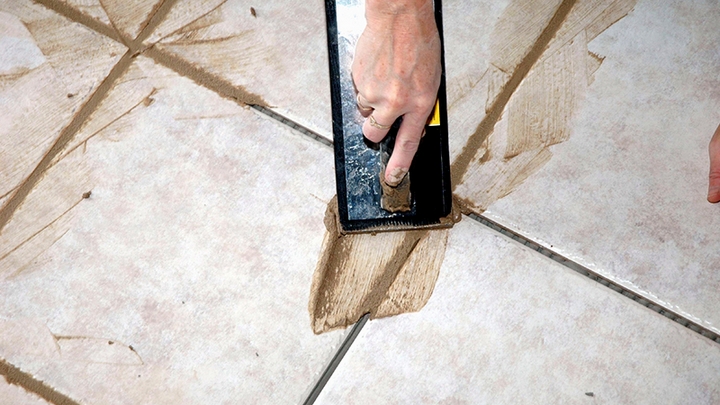
Grouting on ceramic tiles is carried out using a flexible spatula. For a more accurate application of the solution, you can use a pastry bag. The seam must be completely filled with the mixture so that there are no voids inside, the excess is removed. The borders of the grout must necessarily coincide with the surface of the tile. When the solution dries, it must be slightly moistened with water to prevent cracking. It should be borne in mind that the solution may “sag” when it dries, so it is necessary to rub the seams twice or thrice.
The places where the tiles adjoin the wall are sealed with silicone sealant. This is an additional protection against water leakage and the appearance of fungus.
To process 3 sq. m floor with your own hands, it will take about 20 minutes.
Finishing tiles
After the grout dries, you can start finishing the seams. But how do you know if the mixture has seized? This can be checked with a foam rubber sponge. It must be moistened with clean water and drawn along the seam line. If the solution is not frozen, it will follow the sponge. If the grout has set, it will stay in place.
Regardless of the nature of the room, the gaps must be re-treated with an antiseptic. Thus, the appearance of mold or fungus will be minimized. If we are talking about the bathroom, then there is a high probability that water will accumulate on the floor. To prevent liquid from penetrating into the seams, it is better to coat them with epoxy. This will be the last stage of do-it-yourself grouting work.
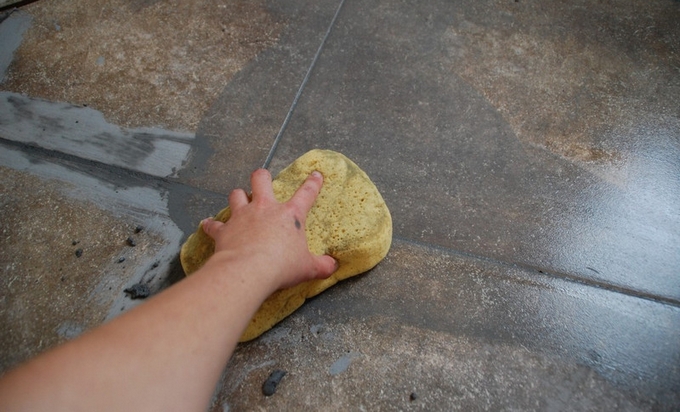
Next comes the turn of the tile. Using a foam sponge, wet cleaning is performed, which gives the work a finished look. This is done carefully, the sponge is driven in a circular motion. For better cleaning, before this, you can walk on the floor with a dry brush to sweep out the dust.
If glossy tiles are laid on the floor, then at the very end it is necessary to treat it with glass cleaner and polish it.