How to apply decorative plaster: a sequence of actions
You have probably already seen from your own experience, and more than once, that almost any construction and repair work is quite easy to do on your own. Finishing the room, in particular, decorating the walls with decorative plaster is no exception. The technique of such work is now very common, and therefore accessible to everyone.
Preparing a mortar for decorative plaster no longer requires you to have any skill or time: the modern market offers a huge range of ready-to-use mixtures. Therefore, in today's article we will touch on the types and methods of application.
In addition, it is very important to properly prepare the surfaces for application and stock up on the necessary materials and tools in a timely manner.
The first step to work: select the right materials and prepare the surface
The main thing to consider: the surface you will be on must be absolutely flat. Any defects and deformations are excluded, so first assess the state of the structure and, if necessary, restore them. Clean the wall of dirt, dust, greasy stains, and make sure that it is dry.
A primer will help you in the preparatory work. Apply it before you start plastering, and thus protect the decorative layer from the effects of temperature changes and moisture.
For your information: to prime the wall for decorative plaster, use a special composition. It will serve as a layer between the coating and the base, providing additional protection against deforming stresses.
There are different types of plaster, and the types of primer under it are also different. If the base is weak and prone to shedding, treat it with strengthening compounds. Gypsum plaster or need to be treated with a deep penetration primer.
Now let's decide on the tools necessary for the job. You will need:
- spatula, preferably size 80;
- paint bath - cuvette;
- two-inch brush;
- mulberry size 40 X 140;
- thread roller size 150;
- 2 sponges, bath or coral, rags.
Remember that in order to carry out priming and plastering work, it is necessary to ensure that the temperature in the room is from +5 to +30 degrees and minimum humidity.
Technology for applying decorative plaster
Now that the surface is prepared, we proceed to the direct application of the material. There are several methods of application, and they depend on the types of plaster and its consistency. Therefore, the following factors should be taken into account:
- liquid plaster is not very convenient to use, since it is completely ready for use and cannot be diluted;
- if plaster with a large filler, for example, crumbs, then it can only be applied manually;
- multi-fraction crumb in the composition further complicates manual application;
- plaster mixes that dissolve with water have less toxicity, but a greater susceptibility to external influences.
There are a few other important points to keep in mind. These include the following:
- On porous concrete or plaster, the applied decorative composition will dry much faster than on oil paint or polyurethane foam;
- A water-based decorative coating can deform the surface of wood, plywood, chipboard and OSB during operation;
- To cover the base surface with defects, more plaster will be needed, since the layer must be thicker than usual;
- If you are applying a water-based coating to ferrous metal, be aware that rust spots may appear after curing.
Almost all types of decorative artistic plasters harden in the same time. Seizing occurs in 3-5 hours, drying - in 1.5 days, final hardening of the layer - about 9 days.
Let's start with plastering. First, cover all adjacent surfaces with masking tape: baseboard, wallpaper, painting. Apply decorative plaster should be from one corner towards the other. If the wall surface has significant deviations, then you will need to make plaster on the beacons.
How to apply decorative plaster: a sequence of actions
To make it easier to understand the process and bring it to life, we will break the work performed into several stages and consider each of them in detail.
1. Surface priming ensures the reliability of all subsequent coating, so it is required. The soil mixture is applied with the help of a maklovitsa (make sure that the hairs are strong enough), and as carefully as possible. It is impossible to allow prints on the surface of the wall, otherwise they will be viewed. After the primer dries (at least a day), proceed to the next step.
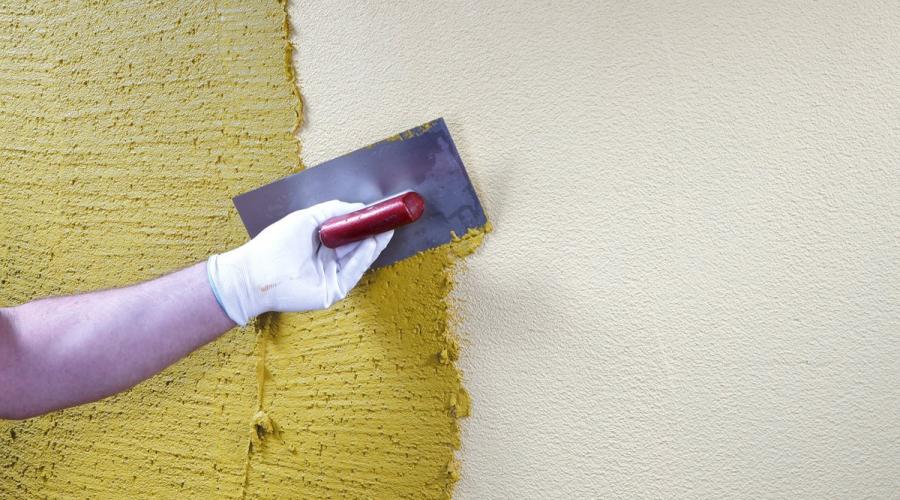
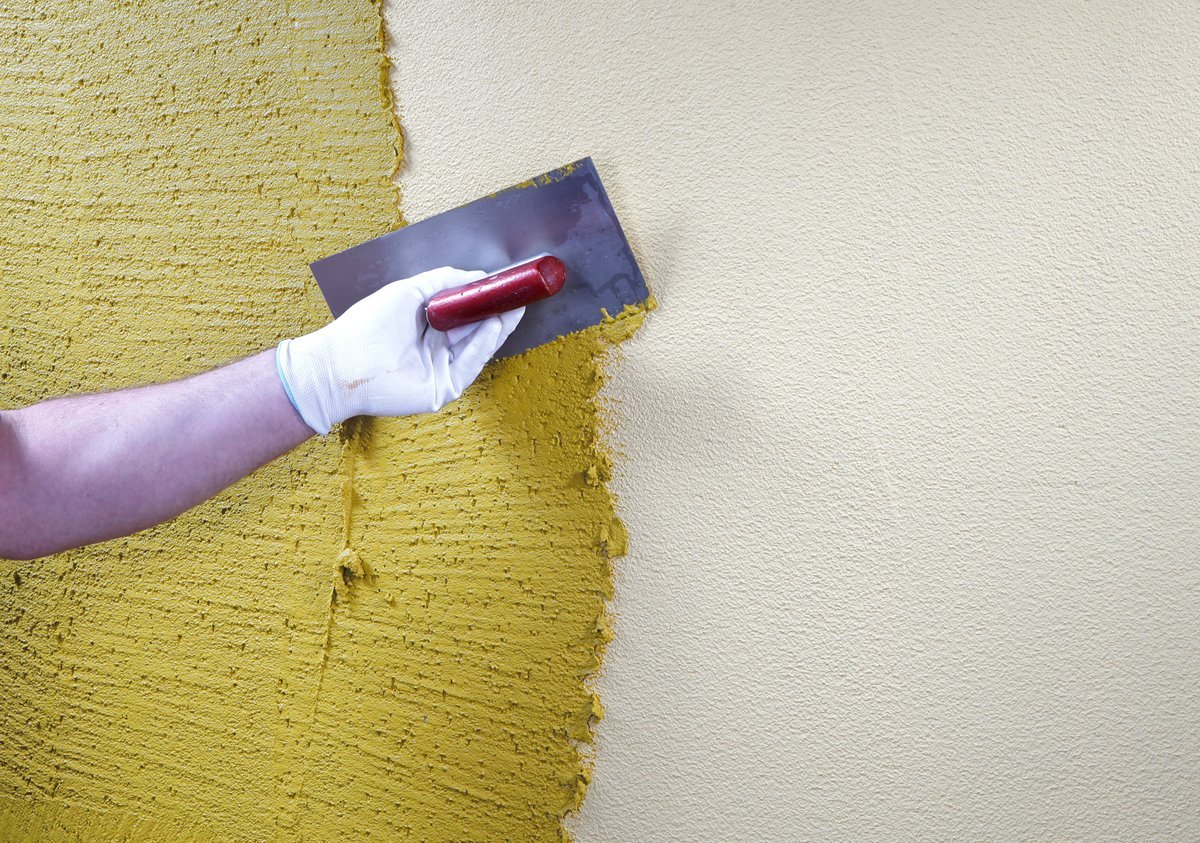
2. Now the main layer is applied, right now the texture of the drawing will be formed. The solution is placed on the wall with a polished metal trowel, paying attention to the fact that the layer should be thin. To get a structural abstract drawing, apply strokes in different directions so that each new one overlaps the previous one. 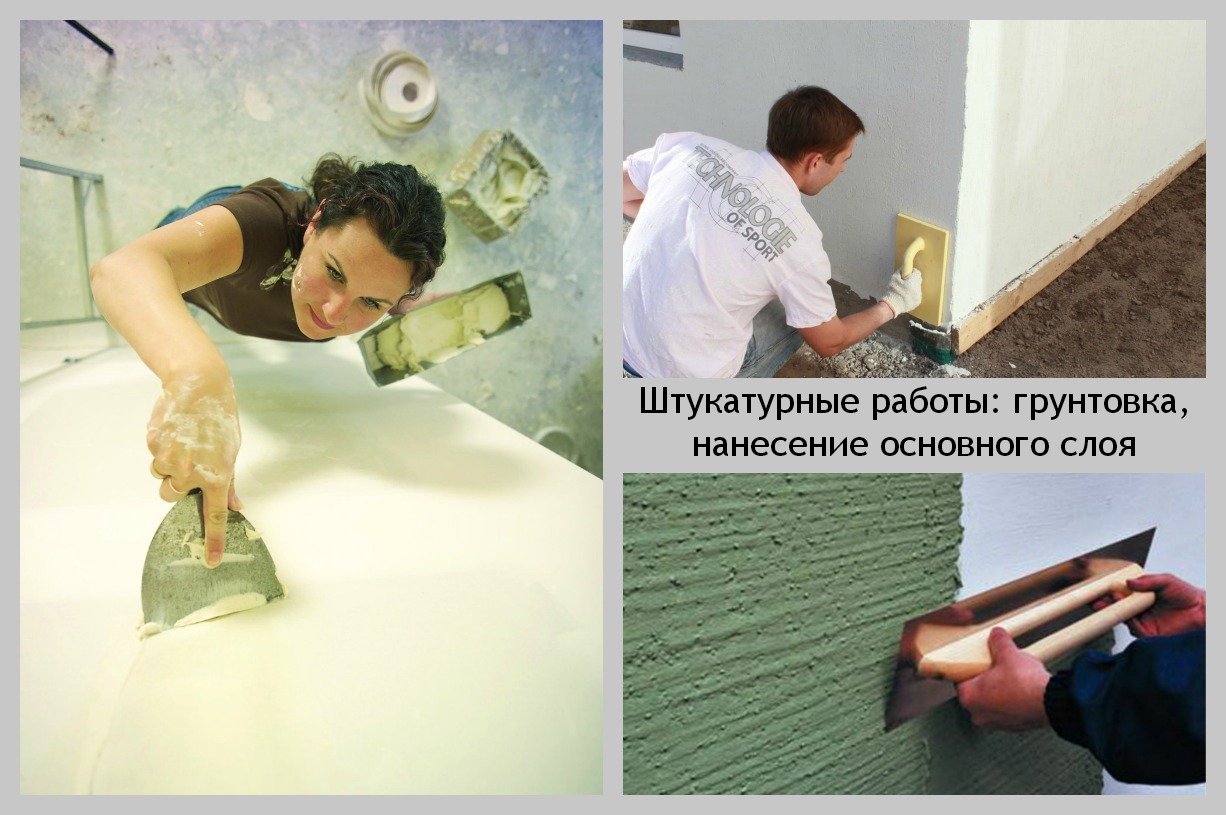
It is important to know! Be sure to keep the tools you use clean. So that the working composition does not freeze before you start applying it to the wall, stir it in small portions.
3. After the final hardening of the base, proceed to applying the finishing layer, or ironing. This will give the resulting pattern richness and depth. Apply small strokes of the working composition to a limited part. After the plaster has set, place the trowel flat against the base of the wall and buff the surface hard to a glossy finish. Its quality will depend on the type of solution. Treat the entire surface of the wall in this way.
4. After 24 hours, your wall is completely finished. If you wish, you can make the final touch: rub the surface with a wax composition, which can not only give an extra gloss, but also improve the quality characteristics of the texture. Wax is applied to the wall with a trowel, in a thin layer, with light movements.
Now the walls of your apartment are covered with an original pattern, and it is especially pleasing that you are the author of this magnificent work.
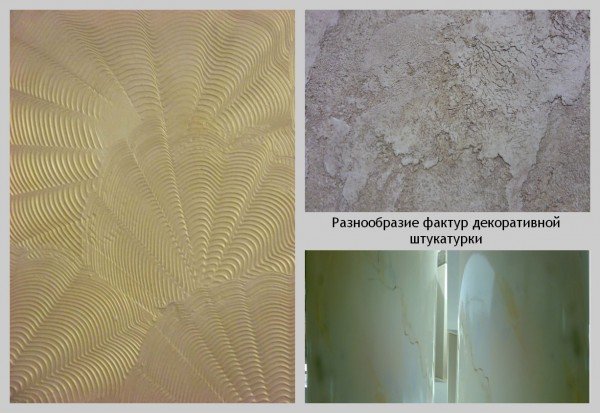
Various technologies for applying plaster
There are several different types of decorative plaster, and the technology of their application, as well as tools, allow you to achieve different textures. For this, a brush, a relief roller, a spatula, a trowel or a spatula are useful. Lime and will allow you to achieve a wide variety of fantasy textures.
A few more ways to apply decorative plaster
There are several more fairly simple ways to turn a layer of plaster into an original textured coating. For example, apply a sour cream solution to the primer, level and lean a regular sponge at certain intervals. Wet the sponge in soapy water so it doesn't stick to the surface.
Give the terrasite plaster a texture of strokes. It must be done on a fine-grained set solution. A simple comb will help you with this, with which you will make notches. Processing can be started 1-5 hours after applying a layer of plaster.
You will achieve the effect of a split stone by driving a tongue into an already hardened one. Recesses in the places of chips will give the necessary grain to the surface.
Another way to perform plastering is spraying. In this case, the composition is applied to geometrically complex surfaces, slopes and decoration elements. This method allows you to increase the aesthetic effect with the help of plasters of different fractions. For example, the composition thickness of 3 mm is taken as the basis, and 1 mm for slopes and additional elements. To do this, you will need to stock up on a special spraying apparatus.

The spraying process on each wall is carried out continuously, from top to bottom, covering the previous one with a new layer. If you need to stop working for a while, stick masking tape along the end of the layer line. The adhesive tape is removed only after the plaster has been applied and its structure has been formed.
Where else can you apply decorative plaster?
But did you know that if you approach the process, then decorative plaster will help transform your home? In this part of the article, you will read the recommendations and see a photo of the decoration of furniture and interior items with decorative plaster. With the help of imitation woodcarving, you will radically change the look of, for example, an old shoe cabinet.
Important to remember! Stencil drawing is not just a pattern, it has a certain specificity. Do not forget to leave jumpers, otherwise the pattern on the napkin will crumble into fragments.
Prepare the surface of the cabinet: degrease it and rub it with sandpaper. Attach the stencil with double-sided tape and carefully apply the plaster with a spatula. Before the mixture has set, remove the stencil. Do not worry about the fact that the "tails" will remain on the plaster: they will be removed later.
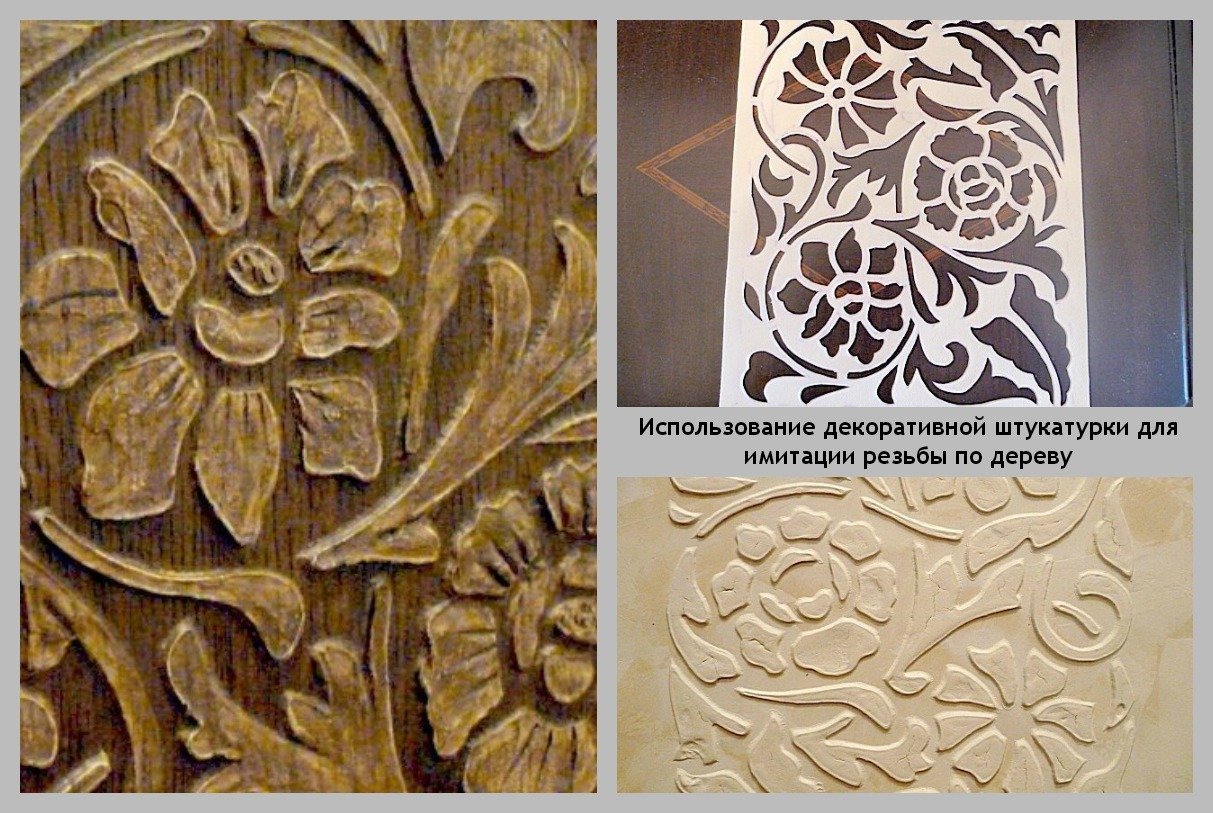
After the mixture is completely dry, sand it, but not too thoroughly: slight bumps mimic the carving better. Wipe the surface with a clean cloth and paint to match the color of the wood. You can apply grooves on wet plaster, or when painting - lines characteristic of oak bark in a darker color.
At the end of these works, the product can also be polished with a piece of woolen cloth.
Video about applying decorative plaster
We told you about the easiest ways to apply decorative plaster. We hope that our master class will help you in your work, and in your comments you will tell about your practical experience. We look forward to your questions and suggestions, and will be happy to discuss your options for using decorative plaster. Easy work and good luck in your work!