How to stick tiles in the bathroom with your own hands: step by step instructions
Bathroom remodeling is almost always laying new tiles. No matter how many new materials marketers come up with, no one succeeds in replacing reliable and practical ceramics when decorating bathrooms. Moreover, the beauty of the options offered in stores simply dazzles. The work of a good tiler is not cheap, and a bad master is quite capable of spoiling designer tiles with a slight movement of his hands. In order not to play a guessing game, you should figure out how to lay the tiles in the bathroom with your own hands, and preferably so that nothing falls off.
How to buy a tile: count and choose
When choosing a tile, everything is relatively simple. You just have to choose among the thousands of options offered the one that is more to your taste. To do this, you don’t even have to go to the store, just open the websites of construction stores or interior design studios, and there you can decide what is more to your taste - strict classics or colorful riot. At the same time, peep interesting styling options and color combinations.
Before you lay out the tiles in the bathroom with your own hands, you will have to strain your brain a little and calculate the required purchase volumes. On the official website of the manufacturer, there are tile sizes and the decor offered for them, so it will not be difficult to calculate the number of tiles. It is more reasonable to consider not the area of \u200b\u200bthe tile, but the number of individual elements, since trimming and the selected layout option can change the final material consumption. The sequence of actions should be like this:
- Measure all surfaces to be coated. Consider the location of the bathroom, and whether you plan to tile it, window slopes, if any.
- Draw an expanded diagram of the bathroom: each wall and floor, to scale. Designate door and window openings.
- Draw the area of the painted surfaces according to the dimensions of the tile, adding 3-5 mm for the tile joints. Do not forget about decorative elements, borders.
- Along exposed walls, entrances, and doorways, plan to place an entire floor tile, leaving an undercut for less visible areas.
- On walls, it's best to leave a full tile along the ceiling, but if the undercut along the floor is too thin, then it's better to plan for almost a whole tile in the top and bottom row.

photo from the site http://polexpert.ru
It remains only to calculate how many elements of each color will be needed and add 5-10% to this figure for a fight and marriage, inevitable during work. Experienced tilers are limited to a 5% increase, while beginners should buy a little more. Do not forget to buy a primer and glue along with ceramics, which will be needed during the work. Do not buy tiles long before laying begins. After some time, it will be impossible to find the same batch on sale, and the new one may not match in shade.
Tricky economy
Head to the store right before you tile your bathroom wall or floor. Specify the conditions for the return, and feel free to take the material with a surplus. You will have two weeks during which all the work will be completed, and the rest can be returned to the seller - large chain stores have no problems with returns.
How to start laying tiles in the bathroom: the preparatory stage
When it comes to reworking an old renovation, you need to do the preparation before purchasing the tiles. In the process of dismantling, unexpected difficulties may arise that will increase the duration of the repair, and it will not be possible to eliminate them in an emergency mode.
Remove all furniture from the room, turn off the water supply taps and dismantle the plumbing. If its replacement is not included in the plans, proceed carefully, trying not to damage objects. Remove the door and platbands so that they do not interfere with the cladding and do not get dirty during the repair. The doorway can be hung with a cloth that, when moistened, will effectively trap dust.
Dismantling of the old finish

photo from the site https://spb.domovenok.su
The most dusty and noisy stage, for which you should stock up on goggles and a respirator so as not to suffer from dust and fragments of ceramics. The easiest way is to use the perforator in shock mode, leading it under the edge of one of the old tiles. Do not try to save old plaster if it falls off along with the cladding. It’s better to let it crumble now than with a new finish, so ruthlessly knock down all the hardened mortar from the walls.
Wall alignment
After removing the old finish, you will get a solid base, but before you lay the tiles in the bathroom yourself, you should definitely check how flat the surface is in front of you. To do this, do the following manipulations:
- determine the deviation of the wall from the vertical with a plumb line - blockages;
- using the rule, check the wall deformations, bends;
- measure the correctness of the angles with a square.
If you are lucky enough to have smooth walls, then you can proceed to the next step. But in practice, such luck is extremely rare, so the walls will have to be pre-aligned. Stock up on the following set of tools and materials:
- plaster beacons;
- container for mixing the solution;
- plaster and tile adhesive;
- drill with mixer nozzle;
- trowel and spatula;
- rule.

photo from the site https://remont-ekspert.ru
According to building codes, cement plaster is used for leveling, but experienced craftsmen prefer to mix it 1: 1 with tile adhesive. This gives the solidified mortar greater strength, and reduces the likelihood of subsidence between beacons.
- Prime the walls and let the primer dry according to the manufacturer's recommendations.
- Mix some mortar and put down a series of dots vertically from floor to ceiling. Attach a beacon to the solution and set it perfectly even with a level. You need to act quickly before the glue dries.
- Similarly, fix the remaining beacons parallel to the first at a distance less than the length of the rule.
- Knead a full portion of the plaster solution, give it 10 minutes to get evenly wet and mix again with a drill.
- Throw the mortar on the wall between two adjacent beacons with a trowel and level it with zigzag movements of the rule from top to bottom. It is better to fill the gap by 1-1.5 m, so that the excess has somewhere to move.
- Plaster all the walls in the same way, just make sure that the beacons do not move under pressure.
Now let the solution dry for a couple of hours, and remove all the defects noticed in a circular motion with a trowel. Before laying the tiles, it is recommended to allow the plaster to dry completely for 7-10 days.
Acceleration of work
Experienced tilers prefer to level at the same time as laying the tiles, using an adhesive mortar for this. This is perfectly acceptable, but requires certain skills. If you are doing repairs unprofessionally, it is still better to level the walls, since it will be difficult to lay tiles in the bathroom yourself and at the same time remove its level.
floor leveling

photo from the site http://vidyotdelki.ru
This stage is not necessary at all, it is quite possible that your floor is quite even, and deviations of less than 5 mm are easily eliminated during the laying process. But you definitely need to check this moment, since it will not work correctly to lay tiles in the bathroom on a crooked floor. If you have a laser level, then there will be no difficulties. Those who do not have such a device will have to tinker:
- Determine the highest corner of the room and place the starting point on the wall in it.
- Checking yourself with a bubble level, draw a horizontal line along all the walls.
- On this line, drive nails into the corners and pull the cord tautly in a criss-cross pattern.
If the stretched cord does not touch the floor surface anywhere, then you can start pouring the screed to a new level. If the rope is in contact with the floor at least in one place, raise it a little to get a new level, at the height of which you place the beacons. Pour the cement-sand mortar and level it with a rule. Of course, a self-levelling compound will greatly simplify the task, although it will increase the cost of repairs.
How to stick tiles in the bathroom with your own hands: step by step instructions
When the plaster and screed are completely dry, it's time to start tiling. The video posted at the end of the article will clearly show how to lay tiles in the bathroom with your own hands, but first you should clearly understand the sequence of actions for yourself.

photo from the site http://abvmaster.ru
Preparation: important little things
- The first thing to start laying tiles in the bathroom is priming the walls. Manufacturers of modern ceramics say that it does not need pre-soaking and priming, but experienced tilers prefer to go through the primer and over the tile. It will be annoying if, due to a greasy stain on the back surface, the tile does not adhere well.
- On the wall, fix the starting rail strictly horizontally - a wooden beam or profile. Below it will later lay the first row of cut tiles, and above it the first whole row is laid.
- Measure the required amount of water into the mixing container and gradually add the glue powder, stirring with a drill with a mixer attachment. The consistency should be creamy, not runny.
The technology of laying tiles in the bathroom on the wall

photo from the site http://goodlinez.ru
- On the wall, apply a mortar layer with a trowel, the thickness of which is equal to or slightly greater than the thickness of the tile. Treat the area that you can tile for 10-15 minutes at a time until the adhesive has set.
- With a notched trowel, form a relief on the solution, moving in different directions. Firmly attach the tile, and check its location with a level. The first row with the bottom edge is on the starting rail.
- Continue laying the first row, placing crosses between the tiles - they allow you to control both the width of the seam and the evenness of the laying.
- To cut the tiles, use a tile cutter, and if you need to make a small hole for a pipe or switch, a special cutter will help.
If you are laying heavy material, such as porcelain stoneware, it is best to allow the first row to set before proceeding with the second row. This will protect the masonry from slipping under the influence of gravity.
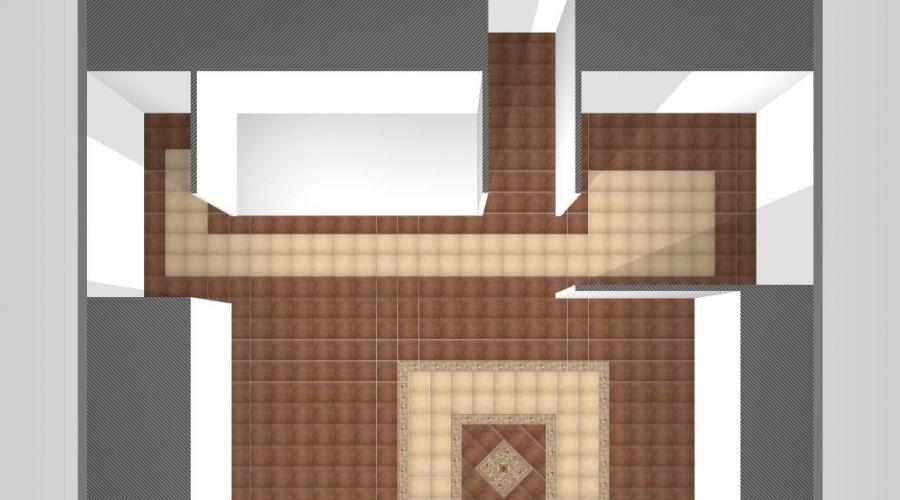
How to glue tiles in the bathroom on the floor

photo from the site http://gidpoplitke.ru
Flooring is much easier, and if you coped with the walls, then everything will definitely work out here. Do not forget to clean the screed from dust, prime it and the tile. After the primer has dried, feel free to get to work, the technology for laying tiles in the bathroom on the floor looks like this:
- Start laying from the far wall, moving towards the exit. Preliminary layout of tiles without mortar will help to correctly cut the row along the far wall so that there are whole elements near the exit.
- Stretch the twine along the direction of the pattern (diagonal or lengthwise) to avoid shifting when facing.
- Apply glue to the floor, level it with a trowel, achieving a thickness equal to the thickness of the tile. With a notched trowel, form a multidirectional relief.
- Attach the tile and press it to the adhesive. Use a rubber mallet to correct its location in the horizontal plane. Remember to immediately wipe off excess glue from the surface.
- Plastic crosses will help here as well, maintaining an equal thickness of the seam. If the tile has sunk deeper than necessary, pry it out, re-walk the notched trowel over the adhesive and apply the tile.
When the work is done, you deserve a break. Now you have to wait until the adhesive hardens. By standards, you can not enter the room for a couple of days, but quick-drying varieties allow you to proceed to the next stage after 4 hours.
Grouting

photo from the site http://po-polu.ru
The easiest stage from a technical point of view. For the bathroom, it is better to use waterproof mixtures with antifungal additives. If you bought an epoxy or one-component grout, then you don’t even have to mess with diluting the mixture. Armed with a rubber spatula, distribute the grout into the seams, directing movements at an angle to the surface. When the composition grabs, immediately wash the tile from the remnants, since after gaining the final strength it will be much more difficult.
Now you just have to check how correctly the information is learned. Watch the video “we put tiles in the bathroom with our own hands” and you can proceed to the practical part.