Solid screw. SSD disk - what it is and what it is used with. Types of SSDs
Modern parents have at their disposal a wide variety of devices for carrying newborn babies and older children. But with this large selection It is important to give preference to an option that is convenient and safe for the child. Today, this includes an ergo-backpack. From how many months can it be used?
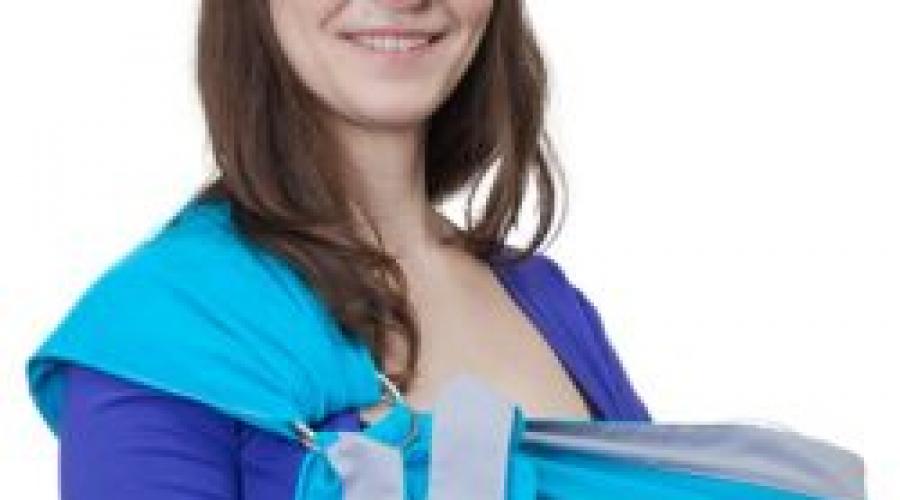
What is an ergo-backpack and its characteristics
An ergonomic backpack is a type of baby carrier that takes into account the anatomical features of the baby as much as possible. This effect is achieved thanks to a special cut: the back is securely fastened to a wide belt so that the child’s spine is in the correct arched position, and the legs are widely spread and fixed in the shape of the letter “M”.
The load when using an ergo-backpack is correctly distributed on the spine and shoulders of an adult due to wide straps and a belt attached to the hips.
At what age (how many months) can a baby be placed in an ergo-backpack?
Many manufacturers (usually foreign) indicate in the description of the ergo-backpack that it can be used immediately after the birth of the baby. For this purpose, the products are equipped with special inserts for newborns. But that's just lucky marketing ploy to increase sales, possible due to lack of state standard for this type of goods. Pediatric doctors and babywearing consultants are of the general opinion that there will be no proper support for the baby’s back, neck, pelvis and legs in such a carrier, even despite the special inserts.
The approximate age of a baby when wearing him in an ergo-backpack will be completely safe is considered to be 4 months from birth. More precisely, this is the moment when the child reaches a weight of 7.5 kg, confidently holds his head and leans on his arms while lying on his stomach.
The main disadvantage of an ergo-backpack is the inability to carry a child in it from birth.
You can use this device up to two or three years of age, it all depends on individual characteristics child and parental preferences. It is recommended not to spend more than 1.5 hours at a time in a backpack. If you need to wear it for a longer period of time, you should take a break for 20 minutes, and then put the baby back in the carrier.
How does an ergo-backpack differ from hipsit, kangaroo and slings?
Types of baby carriers for newborns and older children - photo gallery
 The ring sling can be used from birth
  The sling scarf evenly distributes the baby's weight on the mother's back, shoulders and lower back
  The May-sling is very similar in design to an ergo-backpack
  Hipsit is used only when the child can sit confidently
Ways to carry a child in an ergo-backpack
There are 3 main ways to carry a child in an ergo:
- facing mom;
- on the side;
- on the back.
How to put on a backpack and sit the baby facing mom
You can carry your baby facing the mother from 4 months. The baby feels comfortable and safe in this position. If necessary, you can feed him directly in the carrier.
- Pass the waist fastex under the protective elastic band and fasten it, allowing the backpack itself to hang down freely. Tighten the strap so that the belt fits snugly against your body.
- Place the left strap over your shoulder.
- Place your child in the ergo facing you. Make sure his feet are positioned on either side of the backpack.
- Holding the child with your left hand, take the right strap and put it on your shoulder.
- Place both arms behind your head and reach for the chest bar. Fasten the fastex until it clicks and tighten the sling. If you find it difficult to do this on your own, ask someone for help.
Learning to use a sling to carry a baby facing you - photo gallery
 Fasten the belt of the ergo-backpack at your waist
  Place one strap on your shoulder to make it easier to place your child in the ergo.
  Place your baby in the ergo facing you
  While holding your baby, place the second strap on your shoulder.
  Fasten the chest strap to make it easier to carry your baby
Side position: photo and instructions
- Pass the fastex of the hip belt under the protective elastic band, fasten it, allowing the backpack itself to hang down freely, tighten the strap well.
- Loosen the straps of the shoulder straps of the backpack and unfasten their fasteners. Decide which side of your hip you will carry your baby on.
- If you want to place your baby on the right, then take the left shoulder strap and connect it to the clasp on the right, threading the fastex under the protective elastic band. Place it on your left shoulder. Turn the backpack so that the back is on your side.
- Place the child in the backpack. Holding his back, pass the free shoulder strap behind your back and connect it with a fastex with a free sling, threading the clasp under the protective elastic band.
- Adjust the shoulder straps to length. Make sure your child is sitting upright.
How to put on an ergo so that your child can sit on his side - photo gallery
 Fasten the backpack to your belt
  Unfasten the fastex on the backpack straps if they are fastened
  Connect one strap to the fastex of another, throwing it over your shoulder
  Place your child in a backpack
  Adjust the shoulder straps
On the back
It is convenient to place your child behind your back when you have to long time carry it. This method is suitable for a baby at least 8 months old.
- Fasten the fastex belt and tighten the sling so that the belt sits tightly on your hips. Connect the chest buckle.
- Relax your shoulder straps.
- Ask someone to help you place your child in the backpack, or do it yourself. Make sure your baby's legs are positioned on both sides of the carrier.
- Adjust the shoulder straps to length. Place the chest bar at a comfortable distance from your neck.
Using an ergo to be worn on the back - photo gallery
 Place the backpack behind your back and fasten the fasteners on the belt and shoulder straps
  Loosen the straps to make it easier to fit your child into the backpack.
  Place your child in the backpack yourself or with someone's help
  Tighten the straps so that the child is well pulled to the back
How to wear an ergo in winter
An ergo backpack will be an excellent helper not only in the warm season, but also in winter. IN cold period it can be worn both under a jacket and over it.
If you choose the first method, your baby will be warmed by your body heat, and you will be able to control his temperature. You will need a jacket for this. bigger size, possibly left over from pregnancy, or a babywearing jacket specially designed to be worn with a carrier. This thing is also perfect for putting an ergo-backpack on top of it. There are also baby sling inserts on sale; they are fastened to jackets, if necessary, and baby sling covers, which are put directly on the carrier and keep the baby warm. All you have to do is choose the option that suits you.
Babywearing jacket, babywearing insert and babywearing cape - photo gallery
 Thanks to the sligon cape, the ergo-backpack can be worn over outerwear
  The sling insert is sold separately and fits any jacket
  Sling jacket - perfect option for carrying a child in winter
In this article I will share with you personal experience on sewing a backpack sling. The attached pattern is for a backpack for a baby from 3 months to 1.5 years, approximately; for an older child, you should make a backpack larger in the back and higher, with deeper darts at the waist. All sizes are given without seam allowance!
What you need to sew an ergonomic backpack carrying bag:
1) Outer fabric - it can be raincoat fabric, thick cotton fabric or any other fabric that does not stretch in length and width and does not deform - about 2 meters + if a 2-color backpack, another piece of fabric 50 by 50 cm
2) The lining fabric inside is cotton fabric, it will be in contact with the child’s body - about 1 meter
3) sling 4-4.5 cm wide (depending on the fastex used) - 4-5 meters
4) 3 fastex 4-4.5 cm wide, strong, reliable
5) thread and sewing machine
6) a piece of a tourist rug or isolon with a thickness of at least 1 cm, size 70 by 22 cm
7) foam rubber, 2 pieces, width 7.5 cm, length 50 cm
First, a little theory. The backpack consists of 3 main elements: belt, body, straps
We sew straps for the backpack
The sewn strap is a rectangle 53 cm long, 8 cm wide; to sew 2 straps, you should cut out 2 rectangular pieces measuring 18 by 55 from the main fabric.
We sew pipes from them, turn them inside out, and carefully place foam rubber inside (the seam of the pipe should be on one edge).
We insert a piece of sling inside each strap, approximately 70-100 cm long (pre-burn the edges of the sling with fire so that they do not crumble). The sling should plunge approximately 15 cm inside the strap.
We form the outer edge of the strap with a sling, I bend the corners in the form of a trapezoid, sew, secure the sling in the strap, stitching it with an “envelope”. The second end of the strap can be stitched 2 cm before the edge. The finished strap can be stitched 1 or 2 times in the middle so that the foam does not bunch up.
We sew a belt for the sling.
Scheme of half a belt, you need to cut out a whole one!
In my version, the “smile” belt. It fits almost everyone, is quite wide and dense, and will ensure an even load on all hips and lower back. We cut out a blank from isolon or a tourist rug according to the diagram, then we cut out 2 similar parts from fabric, taking into account a seam allowance of 1.5-2 cm. We sew the fabric parts along the bottom of the belt, along the edges of the belt there will be slings with fastex locks, their We will first sew it through the fabric, on one side we will insert a fastex into a piece of sling folded in a loop (about 30 cm of sling) and stitch it, on the other side we will insert a sling in length, about 60-80 cm (depending on the size of the wearer) , we also sew it into the edge of the belt. Leave the top of the belt open. We put a blank of isolon into the fabric part, adjusting it by trimming it if necessary. We secure the edges of the sling inside the belt over the fabric with an “envelope” seam.
The back of the sling has a one-piece headrest.
I propose a diagram for this version of the back of the backpack, we cut out all the parts from the main fabric with an allowance of 2 cm. The back consists of 3 main parts, let’s call them 1, 2 and 3, 2 and 3 - paired parts are made in 2 copies. To pattern the wrong side of the back, just fold the pattern of the front part, outline it, and at the bottom where the triangles are, there will be darts. If we are sewing a warm winter sling, then the back can be lined with a layer of padding polyester. To do this, we cut out the back of the back from the padding polyester according to the pattern and quilt the padding polyester to the wrong side of the back of the sling.
diagram and dimensions of part 1
diagram and dimensions of part 2
part 3 is a rectangle measuring 35 cm by 8 cm, 2 pcs.
Please note that we will be sewing counter fastex into the back of the sling, so the seam allowance in these places needs to be made larger in order to securely fasten the sling to the fabric, stitching it with an “envelope”. The height at which fastex should be sewn is easier to determine empirically, trying on a sling.
When all the details of the front and back sides are sewn, we start assembling the sling!, first we baste it in rough form and try it on, fold the sides of the back with the right sides inward, put the straps inside them crosswise, baste it, turn it inside out and see if this sewing angle suits us straps, if necessary - adjust to the most comfortable option.
When everything is ready, we sew our sling around the entire perimeter of the back, leaving the bottom unsewn. On all curved parts, before turning, we make cuts at the seam allowance, not reaching the seam by 1-2 mm, so that the product turns out beautifully and does not warp. Turn it inside out and smooth it out.
In places where the straps enter the back, it is advisable to secure the “envelope” seam over the sling.
All that remains is to sew on the belt, to do this we immerse the back of the backpack into the belt (on the back the allowance at the bottom should be larger, 5-6 centimeters), bend the edges of the belt and baste the back with the belt. We measure, if everything is good, we stitch it, put fastex locks on the loose straps.
The last detail, we try on a backpack with a baby, mark the places on the straps and headrest where the buttons will be attached and install the buttons (I made 4 buttons in a rivet workshop).
and the backpack is READY!!!
Now you know how to sew an ergonomic carrying backpack! Happy babywearing!!!