Homemade mini wood lathes. DIY wood lathe: manufacturing options. Structural elements of a lathe

Read also
Reading time ≈ 10 minutes
Wood has always been one of the most popular materials for finishing checks and cuttings, and remains so to this day. If you are wondering how to do lathe on wood with your own hands, then you have come to the right place. In this article you will learn how and from what to assemble such a unit.
Wood lathe
Functional Features

Factory model
To do homemade equipment of this type, first of all you need to familiarize yourself with the factory production in order to understand functional features. Such a machine may be very simple, but, nevertheless, it is still electric tool and it needs to be assembled correctly. To fulfill the most simple operations the unit must have a powerful frame, electric drive, electrical unit speed adjustments, tailstock and headstock, as well as driving and driven clamps. In addition to this for complex work you need to install components to move the workpiece relative to its central axis.
Please note some general instructions that must be followed in order to homemade machine:
- in order to install the workpiece in the machine, it is attached to the drive spindle and supported by the tailstock quill;
- should choose the most optimal quantity revolutions for a particular size of part;
- then the workpiece is processed with the most suitable cutters;
- During the working process, the part is checked with a template, caliper or micrometer.
The work process itself requires certain skills, since your awkward movement can lead not only to defective parts, but also to injury.
Note. It will be much easier to make the machine if you can find an old frame rather than welding it yourself.
Making a simple wood lathe
Video clip of a homemade lathe
First of all, you need to select all the parts so that they fit together. A powerful frame will give the unit stability and also allow all components to be securely fastened. If you do it yourself, then use only thick-walled steel profile, where the wall thickness is at least 3 mm. For the tailstock and front headstock, landing grooves and support platforms are made on the base.
To make woodworking with your own hands you will need the following components:
- an electric drive that will set the machine in motion. The most suitable engine would be from washing machine, you can also use a powerful vacuum cleaner for this;
- to make a headstock, you should purchase a factory-made spindle with three to four pins to reliably center the workpiece as it rotates;
- for the tailstock you can use the head from a large drill;
- a pulley is needed to connect the electric drive and the headstock;
- In order to use the cutters, you will need to install a support table on the frame. The type of such support depends on your imagination - the main thing is that it is convenient for you to work.

System for changing rotation speed
To be able to change the rotation speed, install a pulley system, as in the photo above. Everything is simple here - to increase or decrease the speed, the belt is simply moved from place to place. The disadvantage of this unit is the laboriousness of transferring the belt from place to place, but it is very simple, and there is no need to separately assemble the gearbox. Of course, it is best to purchase such a unit in a store or order it from an experienced turner. It is also better to purchase cutters in a store. If you make them yourself, you will only need high-quality steel.
Note. The rotation speed can be varied from 800 to 3000 rpm. This depends on the size of the workpiece being processed and the type of wood.

Drawings with dimensions in mm
In the photos above you can see how to make a wood lathe with your own hands with drawings and dimensions
Machine for home

Ready product
As you already understood from the above, turning, which is used for the home, can be quite simple. As with any other model, before you start making it, you need to study the specifics of the equipment and select all the parts for different components.

Very simple design
However, even extremely simple model must have the following elements:
- stable frame;
- front and tailstock;
- electric drive (electric motor);
- speed control unit (pulley system);
- drive belt;
- clamps;
- table for resting incisors.
Very often, for the manufacture of machines of this type at home, the following dimensions are used:
- length – 800-900 mm;
- width – 400-500 mm;
- height – 400-500 mm.

Tailstock device
These parameters allow processing workpieces with a diameter of 250 mm and a length of 200 mm without a tailstock. If available, the length of the workpiece can be increased to 400 mm. As an electric drive, you can use an old emery machine made with two stones. It is very convenient to use as a headstock. For the tailstock, you can use the head of a large electric drill, inserting a rotating cone into it to center the workpieces. A thick metal profile with a wall of at least 3 mm is suitable for the frame.
When making a machine, you will certainly need tools such as:
- hand-held electric drill or screwdriver with a set of drills;
- a set of files with different grain sizes;
- grinder with cutting and grinding discs;
- electric welding permanent or alternating current with electrodes 2 and 3 mm.

Pulley set
From the materials you will have to prepare:
- corner with a shelf thickness of at least 3 mm;
- channel;
- two pipes different diameters- one must fit into the other;
- steel strip 20 and 40 mm;
- pulleys;
- drive belt;
- bolts with nuts and self-tapping screws.

Fixing the workpiece with a faceplate
Pulleys of different sizes are attached to the rear shaft of the electric drive so that it is possible to change the number of revolutions. A faceplate is installed on the front shaft, which will fix the workpiece.

Electric drill chuck
To make the tailstock, find an old large electric drill and remove the front part with the chuck from it. In this case, you should pay attention that the body of the drill is metal and not plastic. To secure this unit to the frame, make a metal stand and attach it so that it can move along the longitudinal axis. The cartridge, due to its design, is capable of withstanding large and long-term loads, so this unit will serve you for a very long time.
It is best to make the frame from a channel - for this you will need four pieces welded together by electric welding. In this case, you should be very careful to maintain the exact plane of the product. For the headstock, thick plywood (from 14 mm) or OSB can be used as an installation platform. The electric drive is installed on the table on which the frame will stand, on a plate, but it must be able to move so that the speed can be adjusted.

The support is installed on the bed
You can make the support yourself from pipes of different diameters, which were mentioned in the list of materials - this way the unit can move along and across the frame. To secure this device, it is most convenient to use wing nuts. Here, on the support, a thrust bar is installed on which the cutters will rest during operation.
If you have tool steel, then cutters different shapes for work, you can grind it yourself - it will cost much less than buying them in a store. If you buy them in a store, you will have to shell out from 300 to several thousand rubles - it all depends on the quality of the steel.
Please note that the more often you work on a turning machine, the higher quality the steel should be. In addition, if there is a need to process hard wood, then a cheap set will become dull very quickly and you will constantly have to sharpen it.
Three-phase machine

Machine with three-phase motor
This model is more complex and requires three phase motor Therefore, the house must be supplied with three-phase power. In this design, the rotation speed is no more than 1500 rpm, but the machine itself is quite powerful and can process large pieces of hardwood.

Star (left) and delta (right) connections
Engines are different types, so the connection diagram is also different - they can be connected “star” or “delta”, as shown in the photo of the diagram above. For large workpieces, a large faceplate is put on the motor shaft, and for small parts use washers small size. The faceplate has something similar to peaks on which the part is hammered.

The working process
After centering and securing the part, remove the first layer of wood 1-2 mm, and this can be done even with an ordinary sharp chisel. Next, use a finishing cutter, giving the workpiece the required form. Grinding is done sandpaper, if necessary. You can control the dimensions of the workpiece either with a template, or with a caliper, or even with a micrometer, if necessary. high accuracy. The rest of the assembly is done in exactly the same way as with a conventional electric motor, the only difference is connecting to the network and selecting the required starting capacitor.
Video: manufacturing process of a turning mechanism
But what to do if you have a three-phase motor, but no three-phase power? There is a way out here too - to start, you can use an ordinary light bulb, connecting it to the working and free phase. It will transmit voltage to the starting winding and after starting it can simply be turned off if it is not needed to illuminate the room. The method is proven and some people have been using this connection to process materials for years, although the power is somewhat reduced.
Wood lathe from a large electric drill

Lathe from electric drill
If you are not going to process large parts and do it daily, then you can use an alternative. That is, make a unit from a drill, as in the top photo. There is no need for a powerful bed here, and besides, you can work on such a mechanism even without great experience, and acquire skills while working.
The bed here is assembled from wooden beams, and as a support headstock you can use a support bearing with a shaft mounted on it. To fix the workpiece, you need an attachment for a large drill. But with all this simplicity, a number of shortcomings are revealed, such as:
- reduced level of reliability;
- the ability to process only small workpieces;
- dimensional errors when processing the part.
Note. You can gain work experience with such a model, and in the future make a more advanced machine on which you can process large parts.
Conclusion
In this article, you learned how to make a wood lathe with your own hands, and we looked at several options. Of course, if you do not have sufficient experience, then it is best to make do with a “training” model from an electric drill and only after that start making a more complex model.

In the process of designing and manufacturing turning equipment, the master will need the following metalworking tools:
- hand-held electric drill with a set of drills;
- files of various sizes and grain sizes;
- angle grinder – grinder with a set of cutting and grinding discs;
- electric welding unit and electrodes 3 mm and 2 mm.
During the design and assembly of the machine, you will need to purchase the following building materials:
- metal profile - channel;
- thick-walled metal corner;
- two pipes of such a diameter that the smaller pipe fits inside the larger one;
- steel strips 40 mm and 20 mm wide;
- fasteners;
- drive belt.

Pulleys provide rotation speeds of 800, 2000 and 3000 rpm
Before designing and assembling a wood lathe with your own hands, you should watch a video on making such equipment. Such a video can easily be found on specialized websites dedicated to the manufacture of woodworking equipment.
The use of an electric sharpener for the manufacture of the headstock is suitable in all respects - the axis of rotation is located high, in addition to this, the unit already has 4 washers made of hard alloy. Two washers are used to install replaceable disks of different diameters on the shaft of the electric grinder, which are designed to change the rotation speed. On the other side, a special faceplate is made from one of the washers to secure the blank.
To drive the shaft, pulleys of different diameters are used, providing rotation speeds of 800, 2000 and 3000 rpm. If possible, it is possible to manufacture one combined pulley with seats of different diameters for the drive belt.
Manufacturing the bed, tailstock and stop
The chuck and the front part of the body are taken from an old hand-held electric drill, from which the tailstock is made. When using a part from a hand-held electric drill as a tailstock, you need to choose a drill with a metal body.
To secure the unit, a stand is made, fixed to the machine bed, so that it is possible to move the unit along the longitudinal axis of the machine. The design of the cartridge allows significant longitudinal loads to be placed on it, which is a significant advantage when using it in the design of the device.
The bed is made from pieces of channel material. All elements of the frame are connected to each other using a welding machine. To install the electric sharpener, which performs the functions of the headstock, a platform made of thick plywood is fixed to the frame.
A stand is made to secure the lathe
The electric drive of the machine is installed on a special plate mounted on the table on which the lathe bed is installed. The plate is made in such a way that it can be moved along the direction of movement of the belt. This is necessary to adjust the speed of rotation of the headstock shaft.
A support is fixed to the frame with the possibility of its smooth movement along and across the frame. It is made of two pipes of different diameters. A wing nut is used to secure this unit. A stop bar is fixed to the support, on which the cutters for the wood lathe are located during its operation.
Working tools - cutters for working on a wood turning unit can be made with your own hands, using tool steel plates for this purpose, or purchased ready-made in a specialized store. The cost of a set of cutters for working on a lathe ranges from 300 rubles to several thousand rubles. The cost of the set depends on the quality of the cutters and their quantity in the set.

The cost of a set of cutters for working on a lathe ranges from 300 rubles to several thousand rubles
Basic rules for operating turning equipment
After making a wood lathe with your own hands, it is recommended to watch a video on how to safely and correctly work on such equipment. This will allow you to familiarize yourself not only with the rules of operation on this type of equipment, but also to study the safety rules when operating a turning unit.
For processing wooden blanks cylindrical or cone-shaped, you need a wood lathe. Woodworkers prefer not to install expensive production equipment in their home workshops industrial production, but make a mini version of it yourself.
Homemade turning station Anok for wood costs much less than factory-made analogues, and its characteristics, if properly executed, will not be inferior to factory-produced equipment.
Machine capabilities
Device lathe woodworking can be quite simple. But in order for the milling unit to successfully perform its functions, before manufacturing it, study the specifics of the equipment itself and its use.
- front and rear stock;
- frame;
- electric drive;
- special clamps;
- block for regulating rotation speed.
 There should also be a special stop for incisors of different shapes. For complex operations there must be possibility of workpiece displacement relative to the axis of rotation.
The main element of the machine is the electric drive. Most often, its role is played by a three-phase electric motor. Therefore, a three-phase power supply line is required to the workshop.
Rotation frequency electric motor design should not exceed 1500 rpm. Depending on the type of motor, its connection to the network is carried out in a “star” or “triangle”.
The most common dimensions of a homemade unit:
- height - 350 mm;
- width - 400 mm;
- length - 800 mm.
Such dimensions make it possible to process workpieces with a diameter of up to 250 mm and a length of up to 200 mm without centering using a tailstock. The workpiece is attached to special faceplate. When used for centering the tailstock, the length of the workpiece can increase to 400 mm.
Self-production
 The electric drive can be an old electric sharpener, which is designed for two grindstone. This item depending on the device, it can perform the functions of a headstock in the design of a homemade machine.
Parts of a powerful old electric drill can be used as a tailstock. The bed is being manufactured made of thick-walled metal profile.
For manufacturing you will need the following metalworking tools:
- files of different grain size and size;
- hand-held electric drill and a set of drills for it;
- corner Grinder- grinder with cutting and grinding discs;
- electric welding machine and electrodes 2 mm and 3 mm.
You will also need certain building materials, namely:
- thick-walled metal corner;
- channel;
- two pipes - the smaller one should fit into the larger one;
- steel strips 20 mm and 40 mm wide;
- fasteners;
- drive belt.
A video demonstrating the stages of creating the unit will help you design a wood lathe with your own hands. Look at it before drawing.
 An electric sharpener is suitable for making a headstock, since the axis of rotation is located high, and the unit also has four carbide washers.
Two of them are used for installation sharpened on the shaft interchangeable disks of different diameters, with the help of which the rotation speed is changed. On back side Using one washer, a special faceplate is made to secure the blank.
The shaft is driven by pulleys of different diameters, which provide rotation speed (rpm): 800, 2000, 3000. If possible, a combined pulley with different diameters is manufactured seats for the drive belt.
Bed, tailstock, stop
 From an old hand-held electric drill, the front part of the body and the chuck are taken out, which serve to create the tailstock. In this case, choose a drill with a metal body.
To secure the machine, a stand is made, which is fixed to the machine bed so that the unit can be moved along the longitudinal axis of the unit. Chuck device allows significant longitudinal loads to be placed on it.
The bed is made from pieces of channel material. Its elements are connected by welding. To install the electric sharpener, a platform made of thick plywood is fixed to the frame.
The electric drive is installed on a special plate, which is fixed to the table where the frame is installed. The plate is made so that it can be moved in the direction of movement of the belt. This achieves adjustment of the speed of rotation of the headstock shaft.
A caliper is fixed to the frame, which can smoothly move across and along the frame. The caliper is made of 2 pipes of different diameters. The assembly is secured with a wing nut. A stop bar is attached to the support, where the cutters are located during operation of the machine.
You can make cutters yourself using tool steel plates or simply buy them. A set of working tools costs from 300 rubles. The cost determines the quality of the cutters and their quantity in the set.
Washing machine motor equipment
- Prepare the basis for placing the structural elements. Connect the beams with crossbars and additionally secure them with two corners at the top.
- Attach the motor to the headstock.
- The base of the tailstock is a spinning center that is attached to a support.
- The support for the rear beam is made from a corner. The clip is threaded onto the support axis and welded to the guide beams. The tailstock and stop are movable.
- To fix the moving elements, holes are prepared.
- The prepared parts are fastened together using spot welding.
Mini machine
The machine, whose dimensions do not exceed 20-30 cm, can be made from a motor and a power supply from a Soviet-made radio. This machine can be used to process various small wooden parts of handles, key chains, etc.
Assembly:
- From metal sheet(1-2 mm) a box is made for the engine. The plate is given a U-shape, and a hole for the shaft is prepared.
- From wooden block(2-3 cm thick) is done load-bearing frame, tailstock and stops for a compact engine.
- Wooden squares are cut and stacked. Fixation can be done with PVA glue.
- The “tower” is secured with four self-tapping screws.
- A metal rod is placed on the engine pulley, and a point for placing the holder (screw) is marked.
- The counter holder on the motor side is a faceplate.
Podruchnik
A tool rest is a support for a cutting tool. This element is extremely important for worker safety. If the workpiece jumps out of the clamps, the entire structure will fall.
If, due to the unreliability of the tool rest, the cutter is pulled out of your hands, there will be an injury!
When making a bracket for a hand rest, it is recommended to provide for the possibility of both horizontal movement and rotation around the mounting axis. No vertical movement is needed, just minor adjustments. The support plane must be in the same horizon as the axis of rotation of the workpiece.
This information may seem unnecessary, but since safety comes first, we will focus your attention on the following:
- The workpiece must rotate on the worker (on the cutting edge).
- Before processing with cutters, give the workpiece a shape as close to cylindrical as possible. For this purpose, you can use a rasp that is pressed with a plane.
- It is safer to press the cutter against the workpiece under acute angle. Further, as the shape is given, the angle is drawn onto a straight line, without separation from the surface.
- Don't try to get smooth surface cutting tool, sand with sandpaper. Wear gloves to avoid getting burned due to friction.
- For processing hard wood, set high speeds, for processing soft rocks - low speed.
Basic operating rules
 Information on how to operate the machine can be obtained from the training video. It will introduce you to work rules and safety standards.
The general rules include a number of points that require mandatory implementation. The main ones are the following:
- The workpiece must be free of knots and defects.
- Installation and fastening of the workpiece is carried out using special fasteners, which are located on the headstock shaft and on the rear panel.
- The number of revolutions is made by rearranging the drive belt on the drive pulleys with different sizes seats.
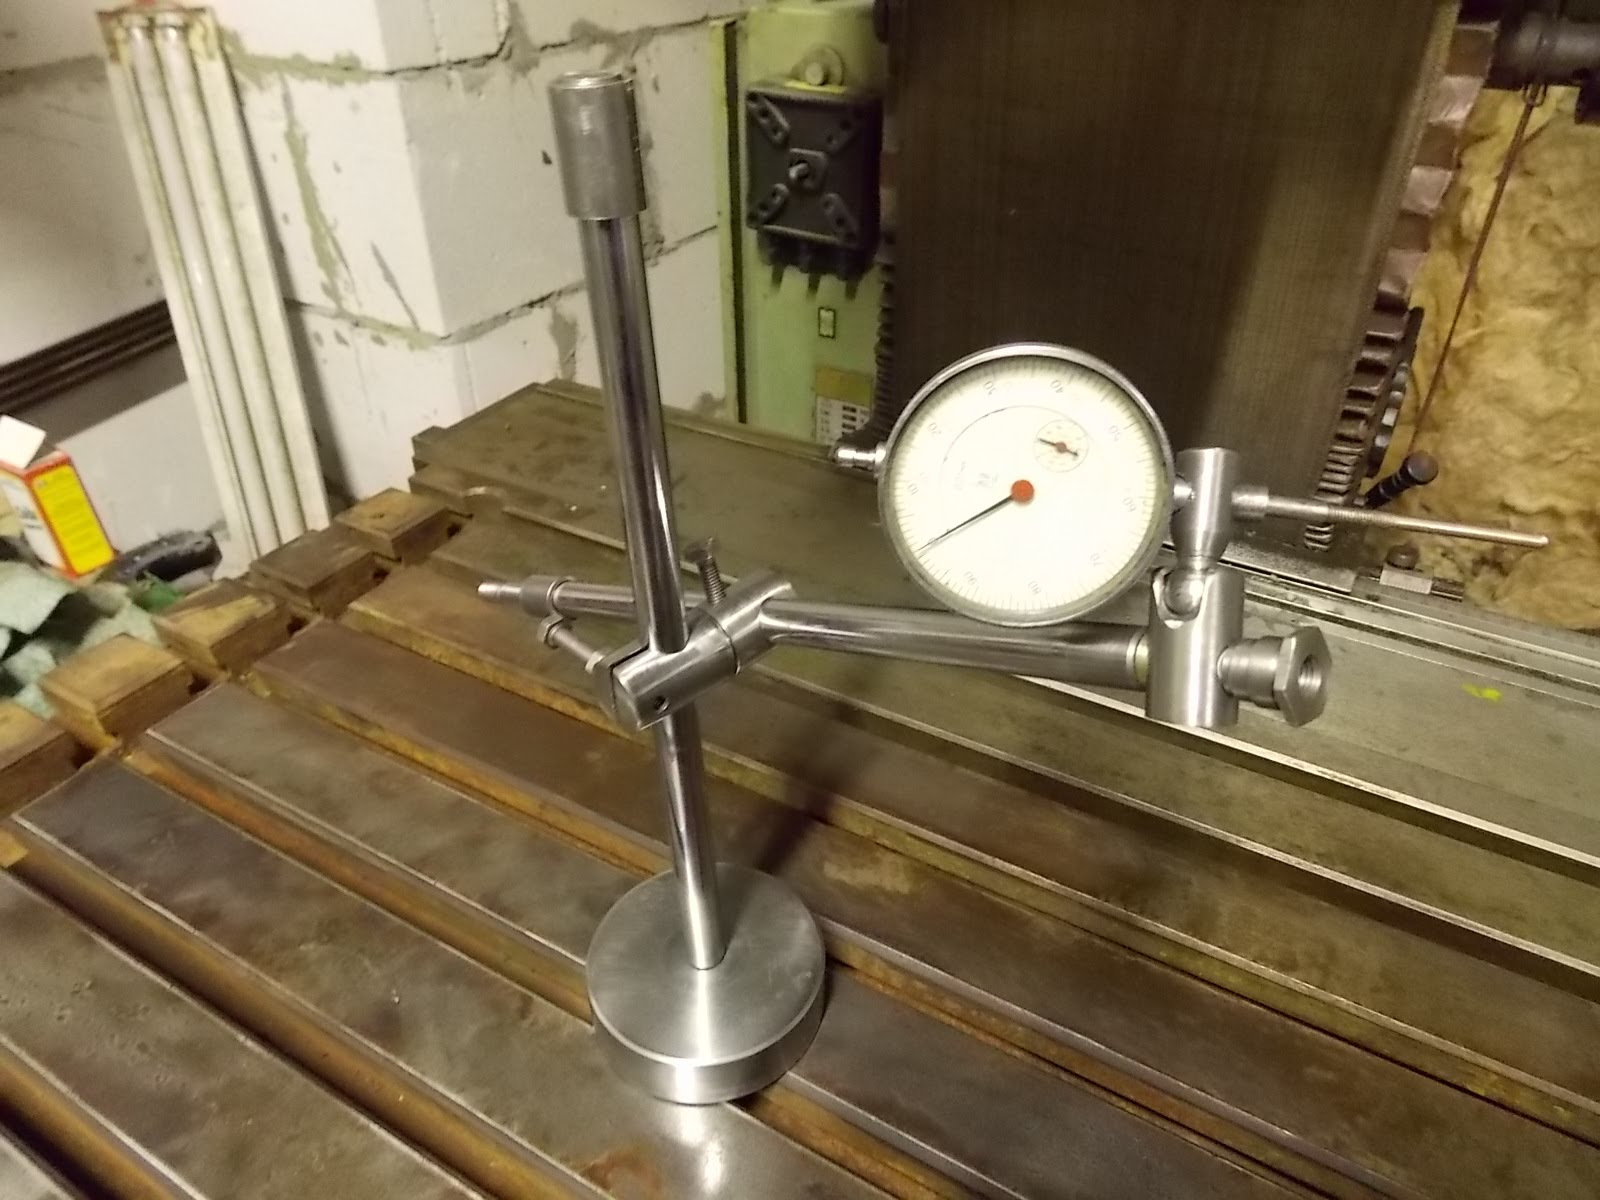
- During the processing process, the actual dimensions of the workpiece are periodically measured.
Operating a woodworking lathe requires experience, as one awkward movement of the cutter can ruin the workpiece.
The frame must be manufactured with special care to ensure good stability during operation. The quality of work of other components depends on the quality of manufacturing of this element. The disadvantage is the high labor intensity when changing the spindle speed.
The choice of rotation speed of the headstock shaft depends on the size of the workpiece and the type of wood. A special table of the dependence of the rotation speed on the wood and the diameter of the workpiece will help you select the rotation speed.
The simplest homemade wood lathe, made by yourself.
I needed to sharpen a few wooden parts, I decided to make a homemade lathe from scrap materials that I had in the garage. The manufacturing process of the machine is shown in the photo.

I used a motor from a circulation pump.

The bed was made from plywood 22 mm thick; the length of the bed allows you to place a part up to a meter long on the machine.
I drilled holes for mounting the engine, and used a jigsaw to cut out guides for the tailstock.


The tailstock was made from a U-shaped profile. Headstock, in in this case This is the motor shaft, it should be at the same height and on the same axial line with the tailstock. I welded the headstock mount and installed the bearing.


I installed a wooden plug in the bearing and put a washer on the pointed bolt. The bolt was inserted into the hole in the plug, put on another washer, screwed the nut onto the bolt and tightened it.


Then I installed the tailstock into the guides and secured it with wing bolts.

The handicraft was made from a wooden block. I cut cross cuts to attach the tool rest. A lathe chuck was made from the body of a bronze air vent. I cut out a “crown” in the front part of the air vent. The lathe chuck was secured to the motor shaft.

All photos from the article
You can create a wide variety of products from wood, but the work requires certain equipment. Almost anyone can make a simple lathe home handyman, its manufacture does not require many elements; it consists of several main parts.
We will look at how to assemble the structure and what components will be needed for the work. After spending a little time, you will get a reliable and practical design for wood turning.

What you will need to carry out the work
To make the structure, various improvised units are used; the option discussed below is a kind of guide; you can change the elements for others, provided that reliability and performance are ensured. Let's look at what tools should be on hand to get the job done:
| Welding machine | Necessary for the manufacture of a strong and reliable frame, as well as for other components. If you do not have the skills to work with this type of equipment, then it is better to use the services of a specialist; the price of the services will not be too high |
| It is difficult to imagine any work with metal without this tool; it is used for cutting and grinding various elements. Most often, small devices with a disc size of 125 mm are enough; do not forget to stock up on cutting and grinding discs in advance, since during intensive work they are used up very quickly | |
| Thread cutting tools | Threading on connecting and fixing units is often required. For external thread dies are used, for internal - taps. Naturally, the thread pitch on both elements must match |
| Drilling equipment | This can be a stationary machine or an electric drill. There are also manual options, but working with their help will take a lot of effort and take a long period of time. It is also necessary to have a set of drills on hand so that you can quickly make holes of different diameters |
Important! Also, take care in advance of supplying electricity to the equipment location, especially if a three-phase motor will be used.
![]()
Design and features of its assembly
First, let's figure out what the equipment consists of. The easiest way is to find ready-made drawings of a wood lathe - making them yourself without the appropriate experience is very problematic.

Machine components
Each element is very important, and without it it is unlikely that the structure will be assembled:
- The frame serves as a support for all elements, so increased requirements reliability and strength. Most often, a channel, angle or profile pipe with square or rectangular cross-section. The thickness of the elements must be sufficient to withstand even significant loads without harm to the structure, because preservation geometric parameters very important.