Useful homemade products for the car: photos and videos. Automotive homemade products What can you do for a car with your own hands?
If you think that homemade crafts are for kids and bored housewives, we will quickly dispel your misconceptions. This section is entirely devoted to making homemade products from car parts and rubber tires. Almost anything can be made from a tire. From garden shoes to a full-fledged playground with swings, fairy-tale characters and elements for relaxation. Finally, ever-busy dads will have the opportunity to show their creative talents and create something useful and beautiful on their own personal plot or backyard.
Car tires tend to deteriorate, especially considering the quality of our roads and sudden temperature changes. Instead of sending an old tire to a landfill, it can be slightly transformed and donated new life on the playground, in the garden or vegetable garden.
We have collected a huge number of examples of how to do car homemade products using tires for various household and aesthetic purposes. Perhaps one of the most popular ways to use a used tire is to create children's playgrounds. The simplest option is to bury a row of tires halfway and paint their upper part in bright colors. Created this way architectural element will be used by kids as a device for walking and running with obstacles, and also instead of “furniture”, because you can lay out sand products on the surface of the tire or even sit on your own, relaxing on a quiet summer evening.
You can aesthetically diversify the exterior of the site by using tires to create fairy-tale dragons, funny bears that will greet your guests at the entrance to the yard, crocodiles and other animals lurking in the garden. For flower lovers car tire can replace a full-fledged flowerpot, and plants planted in it will give the yard a well-groomed look.
You can please children by creating a comfortable swing from the best preserved tires. You can leave the shape of the tire in its original form, and, spending a little more time and effort, create unusual swing in the form of horses.
Whatever you choose to create a car craft, your children will in any case be delighted to see a homemade car craft in the yard. Inventive children will be able to play new games, and will definitely be proud of their folder, showing off your creation to their friends. And the mixture of happiness and pride for you in the eyes of a child is perhaps the only thing for which you can step on the throat of a long-awaited day off in the company of a sofa, TV and beer.
Various homemade products for cars have always been of interest to motorists. All of them are designed to improve performance, appearance or comfort passenger car. For example, you can make a subwoofer with your own hands, convenient organizer, eyelashes for headlights, license plate protection, etc. We will tell you about some useful homemade products that are available to everyone.
Every motorist strives to make his car unique. This can be done with the help of unique overlays on the headlights, which are called cilia and add some zest to the appearance of any car.
To make your own eyelashes you will need the following:
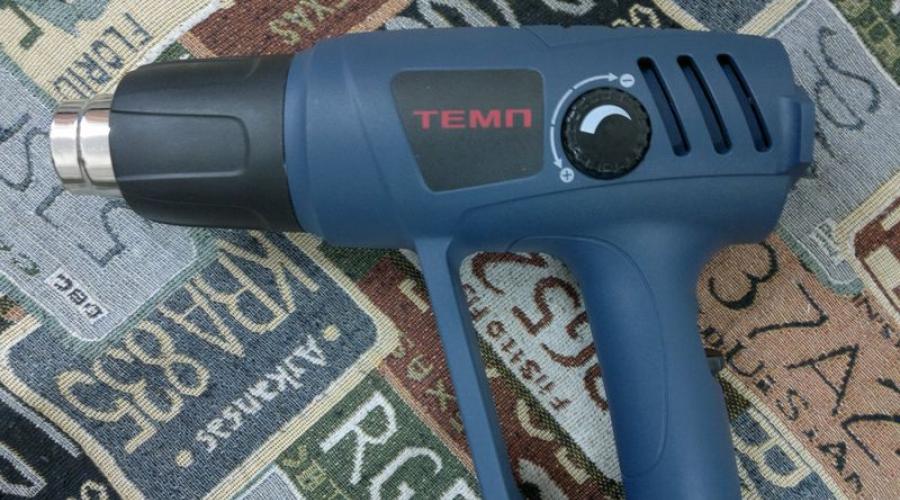
- construction hair dryer;
- thick paper or cardboard;
- primer and paint;
- sandpaper;
- hacksaw;
- scotch;
- plexiglass.

First you need to decide what shape of eyelashes you want to get. The choice depends on your preferences and imagination. Draw a template on paper or cardboard and cut it out. You can use it to cut a piece of plexiglass in the future.
Attach the created template to the headlight of your car and give it a finished look by carefully adjusting all the edges. When everything is ready, attach the template to the plexiglass and trace it with some sharp object. The part should be cut out along the resulting contour.

In order not to damage the headlights and protect them from scattering, it is better to cover their surface with tape. Use a hairdryer to heat the workpiece, and when it begins to bend, you can apply it to the headlight.
After this, the surface needs to be treated sandpaper by wetting it with water. When everything is dry, paint the part with primer, and then paint it in any color. suitable color. Everything is very easy, and the result can exceed all your expectations.

If on rims If your car has scratches or chips that spoil the appearance of the product, you can take the wheels to a specialized workshop for painting. If you don’t want to spend money on this, you can try to restore the damaged areas yourself.

To work you will need:
- Scratched discs.
- Epoxy glue of any color, since a layer of paint will be applied on top. However, if the paste is too bright, it may show through the paintwork, so it is better to thoroughly prime everything with a primer before applying paint.
- Sandpaper number 300-400 and 600.
- Adhesive tape.
- Spray paint and varnish.

First, using coarse sandpaper, you need to clean the places of chips and scratches to such an extent that you could not feel any bumps with your hand. We recommend covering the rubber with adhesive tape and covering it with newspapers to prevent paint from getting on it.
Mix both components of epoxy glue in a one to one ratio. Apply the mixture to the cleaned scratches so that the mixture completely fills them, and a thin layer forms on top.

Dry everything thoroughly. This takes a lot of time, and to speed up the process you can use heat by placing a fan heater or a simple incandescent light bulb near the disks.
When the glue has dried, sand it with fine sandpaper, preparing the surface for painting. Everything should be smooth to the touch and look - this is important.
Using a spray can, painting the rims is not difficult at all. You need to thoroughly shake the can and start spraying the paint from a distance of 20-30 cm. The paint should be applied in layers. Avoid too obvious transitions by applying two or three layers. Each of them needs to be dried, waiting for half an hour. To protect fresh paint from dust, it is better to painting work in a pre-humidified room.

After the paint has dried, apply two coats of varnish. Between layers you need to wait half an hour, and upper layer should be dried longer.
When everything is thoroughly dry, you need to moisten the finest sanding paper (1000-2000 grit) with water and carefully smooth the varnished area. To achieve factory shine, the surface can be polished.

The theft of registration plates has become one of the illegal types of income today. Money for intruders. It takes thieves no more than 10 seconds to steal license plates from a car. In order not to fall into the trap of scammers, you need to take care of protection registration number. There are several methods, each of which can be implemented independently at home.

Protect your number with tape
This method of protecting your license plate from theft may seem funny to you, but it is quite effective. The back surface of the registration number should be degreased and double-sided tape should be attached to it. This one is simple and inexpensive way plate protection creates an additional obstacle for a thief, which can save your registration plate.

Secrets for car number
Instead of simple screws that secure the license plate, lockers are installed. The hats are designed in such a way that the secrets can only be unscrewed special key, sold together with fasteners. The kit costs about 500 rubles, and installation does not take much time.
There is no limit to perfection. This saying is well known to one and all. And any car owner strives to make his car perfect. For many drivers, the factory settings are not enough. They strive to bring something of their own. Something that will set them apart from the rest. But what to do if what you want cannot be purchased in the store? There is only one way out: if you can’t buy it, do it yourself.
They have become very popular lately. They improve the appearance of the car, change some specifications or bring nice additions in the option. Among the variety of possible alterations, we suggest considering several options.
Car wash
Let's start with the appearance. When the car is clean, it paintwork glitters and sparkles. It's nice to look at this technique. You immediately get the feeling that the owner is taking care of his car. But going to the car wash is not always possible due to various circumstances. In such cases, homemade car products will come to the rescue. You can assemble a small sink with your own hands, which you can use at any convenient time.
To make a sink you will need the following parts:
- canister with two drains;
- hose 2 m long (suitable for connecting a washing machine);
- watering gun with telescopic rod;
- union;
- spool;
- rubber gasket (outer diameter 2.4 cm, inner diameter 1.5 cm);
- coupling.
Now let's get started:
- We make a hole in the lid of the canister. We coat the “spool” with sealant and insert it into the prepared hole in the lid. Let it dry.
- We make a small hole in the second lid. It is necessary for treating the connection between the cover and the coupling with sealant and also allowing it to dry.
- From the curved end inlet hose cut off the nut with the fastening. No need for fastening anymore. Apply sealant to the nut and secure it with reverse side couplings. We connect the cut side of the hose to the nut of the quick-release fitting. Next, the main fitting is screwed in, which is also connected to the watering gun.
- On the second side of the hose, insert a rubber gasket into the nut. This will protect the system from air penetration. After this, the nut is screwed onto the quick-release fitting.
This completes the process of making a homemade car for a car with your own hands.
Seat reupholstery
Homemade products can also be useful for updating the interior. Useful devices and crafts for cars allow you to replace worn out parts, add lighting to the interior and do much more. Let's consider the option of how to update the seats.
For this you will need fabric. You can choose two colors - beige leather will be suitable for the central part of the seats, the back of the backrest (about 4 m of it will be needed), and everything else will be black. Black leather needs about 3.5 m. All fabric needs to be duplicated (glued) with a layer of foam rubber 0.5 cm. The foam rubber is glued with non-woven material using an iron. This will make it easier to work with.
We remove the covers from the removed seats (it’s more convenient this way). We number their individual parts. In order not to get confused, we transfer everything to paper. Also on paper you need to mark the places where the knitting needles are attached (they are on the back of the covers). The knitting needles themselves will then be inserted into new cases.

Next, we disassemble the casing into individual parts(unravel the seams). Patterns are obtained necessary elements. We lay them out on the wrong side of the fabric (wrong side up to avoid mirror reflection details) on thick paper(can be on wallpaper) and draw around the perimeter. We leave a 1 cm allowance along the edges, which will be used for seams. Then all the patterns are cut and sewn (starting from the center). On the reverse side of any fabric we make pockets into which the knitting needles are inserted.
Having connected all the parts, we get new covers. We carry out this process one by one for all seats. Having made such interesting and useful homemade products for your car with your own hands, you can update the interior without contacting a service center.
Ceiling renovation
You can also replace the ceiling trim yourself. Homemade products for cars in in this case you need to start by removing the ceiling. This can take quite a long time. Fastening is individual in each case. There is nothing complicated, the main thing is to carefully inspect everything and check that all the parts remain intact.

When ceiling panel will be removed, removed from it old fabric. When preparing material for the ceiling, you need to remember one thing important point: on the wrong side it should have a small layer of foam rubber. Fabric is glued heat-resistant glue. When the glue has dried, the panel can be reinstalled on the ceiling. Do this in reverse order.
"Angel Eyes"
It is quite possible to assemble useful electronic homemade products for cars with your own hands. Eg, " angel eyes» will allow you to update the headlights of any car. To make them you will need:
- plastic transparent sticks (can be from blinds);
- resistors (220 Ohm);
- battery (9 V);
- LEDs (3.5 V).
The process looks like this:
- On any metal can, the same diameter as the headlights, we screw a ring from a plastic stick using pliers. To do this, it is heated a little.
- Next, connect a pair of LED and resistor. Their performance is checked using a battery.
- Another LED is connected to it.
- We make deep cuts on the frozen ring from a plastic stick.
- We assemble the ring, attach the LEDs, and connect.

Conclusion
Anyone can assemble homemade products for a car with their own hands. The main thing is to be confident in your abilities. A little information from our article, a little of your reasoning and thoughts, and everything will work out. And the car will only get better from this. And it’s doubly nice that it was done with your own hands.